


Image Sharpen
A single photo has no frames beside it to borrow from, so image sharpen on Enhancer.video works only from the edges still left in this one picture, and how much that is depends entirely on the shot you started with.
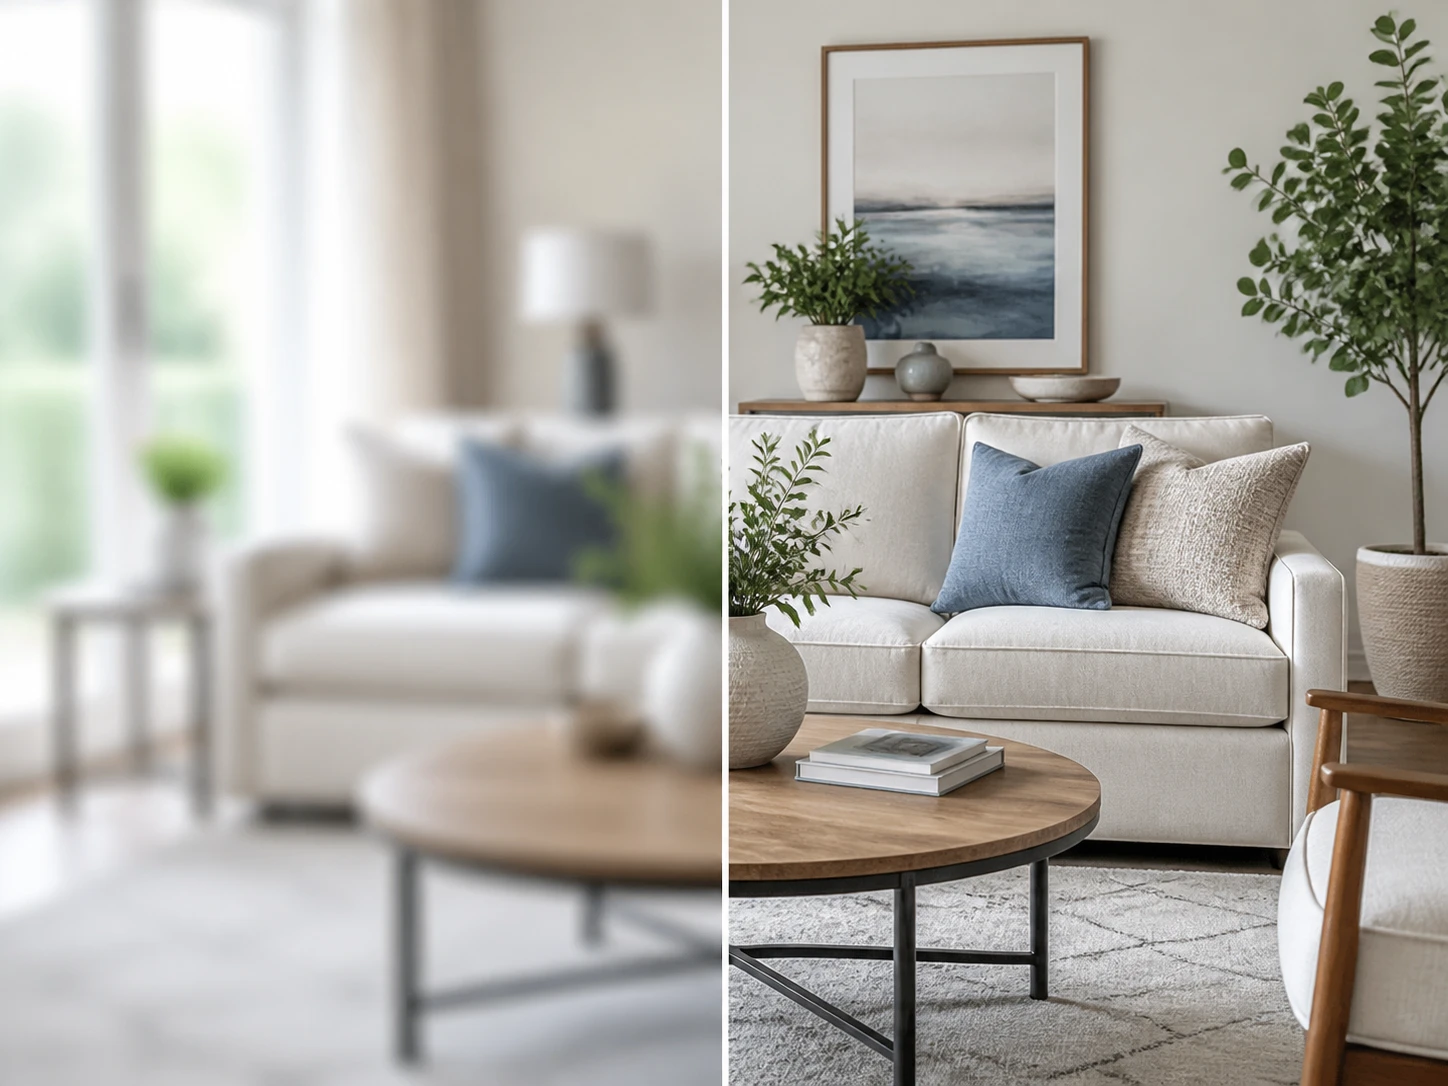
How Image Sharpen Reads Your Photo
Image sharpen takes three moves, and the first one happens before you upload a thing.
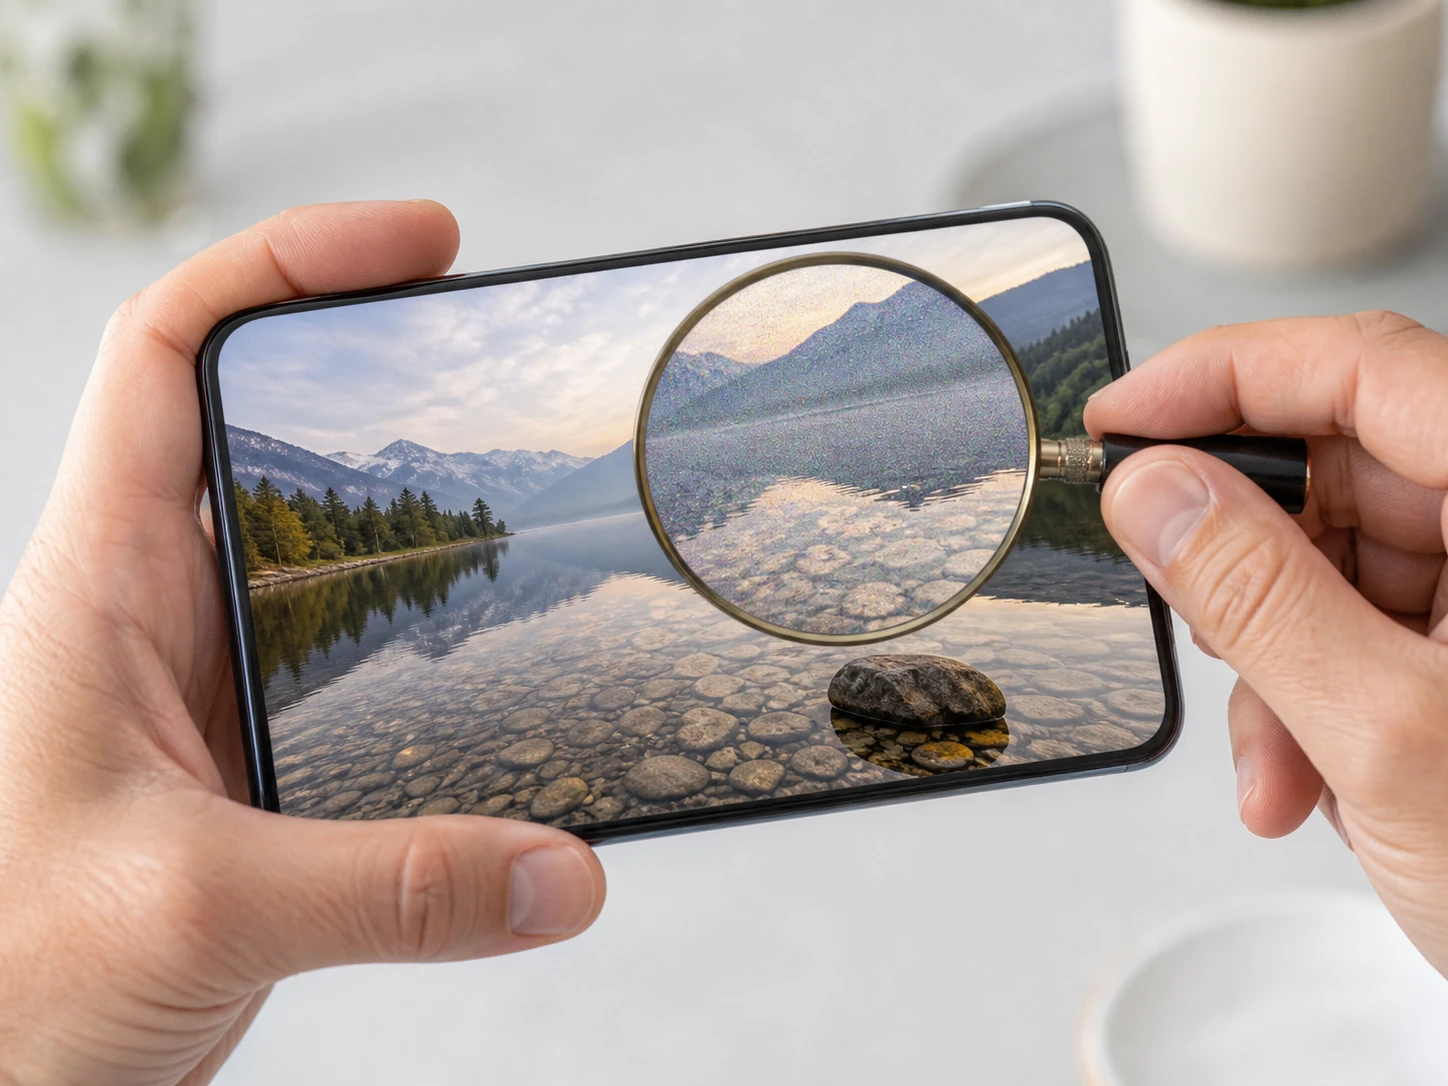
Size Up The Shot You Have
Before anything uploads, judge three things about the picture in your hand: how soft it truly is and whether the edges still separate, whether the specks in the shadows are blur or noise, and how small the detail you actually need to read is. Those three decide whether the shot gives image sharpen anything to work with. Then drag it in as a JPG, PNG or WEBP, several at once if you like; it all runs right in the browser, so you can sharpen photo online with nothing to install.
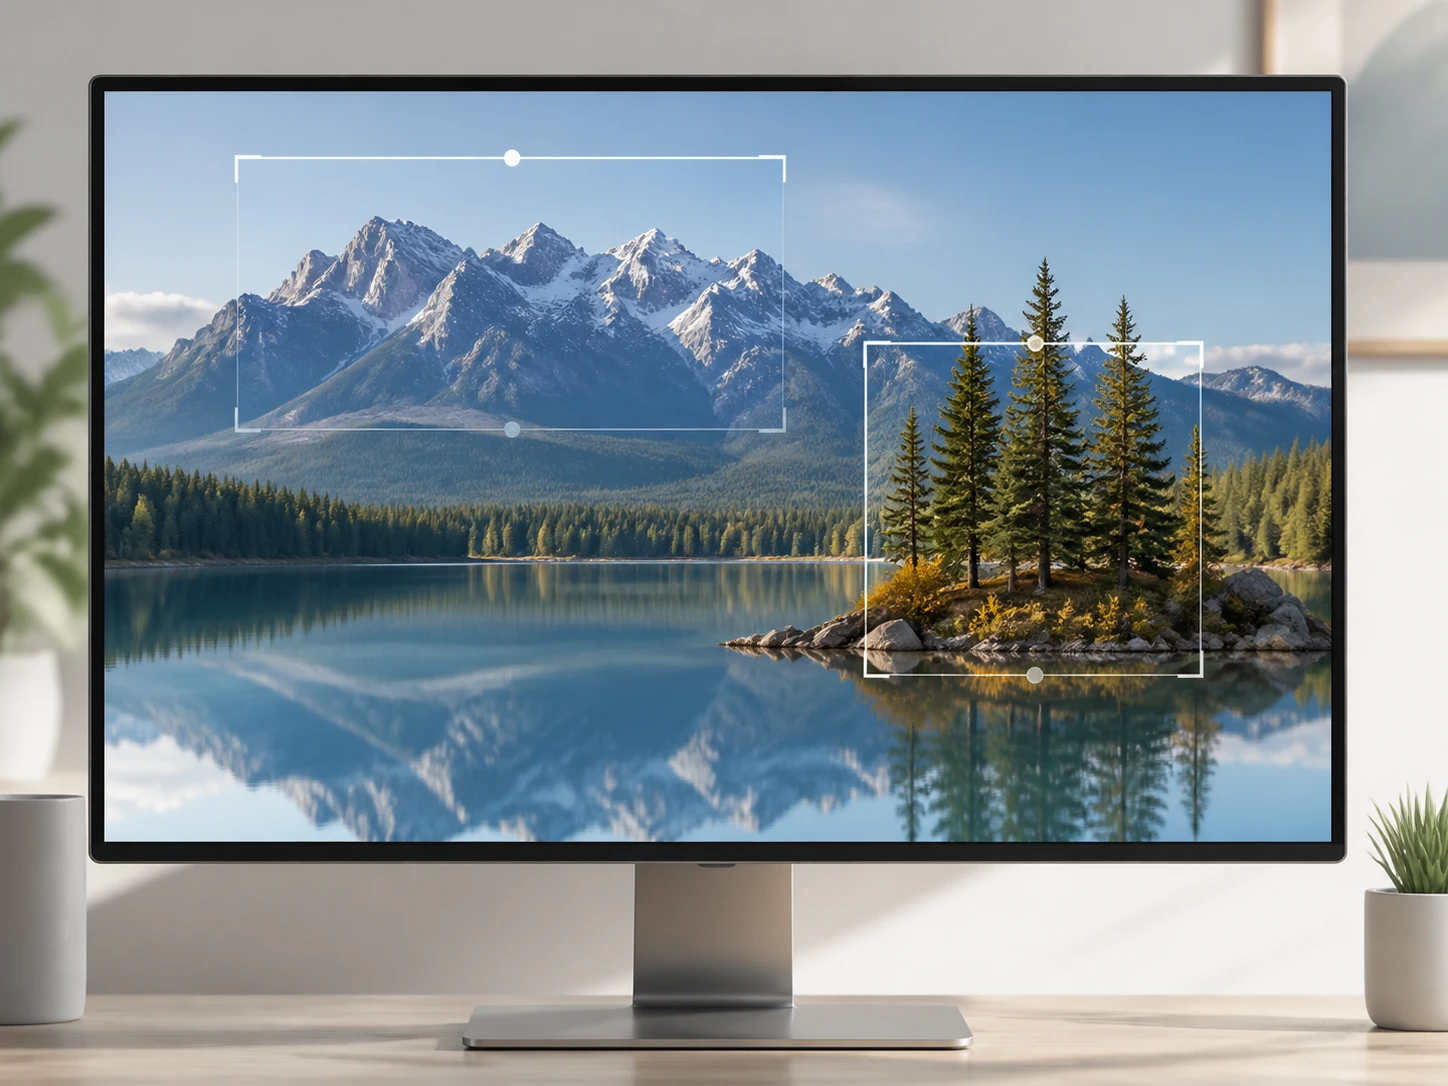
Image Sharpen Follows The Cause Of The Softness
Image sharpen routes the picture by whatever softened it and rebuilds only the areas that read soft, leaving whatever is already clear untouched. Noise and compression blocks can be cleared at the same time, kept separate from real texture. Prefer to steer it yourself? Pick a model by hand or choose a use case and the settings fill in for you. Going larger is a separate choice, not something forced on every job.
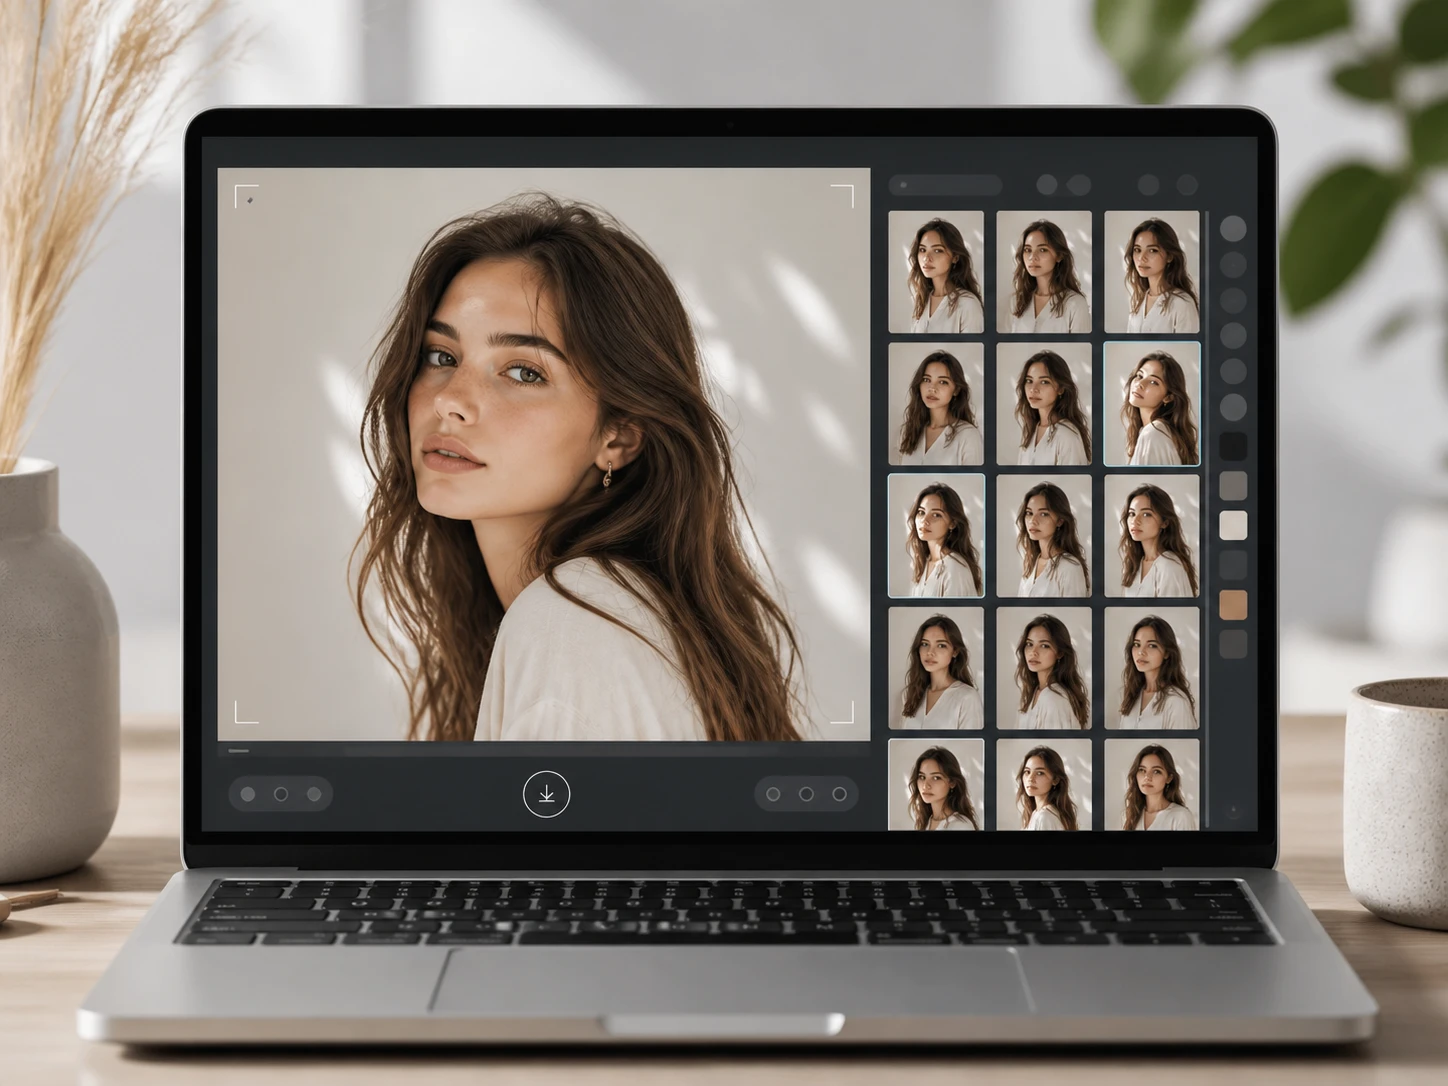
Download, Or Read It Again
Download it with no watermark, and the result stays in your Enhancer.video account for whenever you return. If this one had less headroom than it first seemed, because the strokes had fused or the softness was really noise, choose a different scene and run it again. That is image sharpen reading the picture correctly, not patching a failure.
Image Sharpen For The Photos You Have
Each kind of picture gives image sharpen a different question about what survived.
Sharpen Text In Image
Strokes are the first thing lost when a screenshot or a scan goes soft. Whether the words read again depends on the gaps between strokes: while they still separate, the characters come back; once they merge into a smudge, image sharpen will not prise them apart. The smallest type on the page decides the whole shot.
Sharpen Old Photo
An old print often looks acceptable until you lean in and the faces in the background have quietly vanished. Scanning it or shooting it again adds one more soft layer for image sharpen to read through, so holding the original or a copy of a copy changes the outcome. Scratches can come off and colour is optional, yet how much returns still rides on this one print.
Sharpen Anime Image
Almost all of the information in an anime frame or an AI render lives in its lines. While a line is only fuzzy image sharpen can firm it and hold the edge; once the line itself breaks or clots into a blob, what appears is a freshly drawn line rather than the original. You can paste a prompt here to steer the detail.
The Frame You Grabbed For A Cover
That one picture you saved for a cover or thumbnail carries every flaw of the footage it came from, and at the size it gets shown in a feed the mush is the first thing anyone sees. Bring it in as an image and read what image sharpen still finds in that single frame before you settle. This is where image sharpen reads the picture taken from your own clips.
Who Reaches For This First
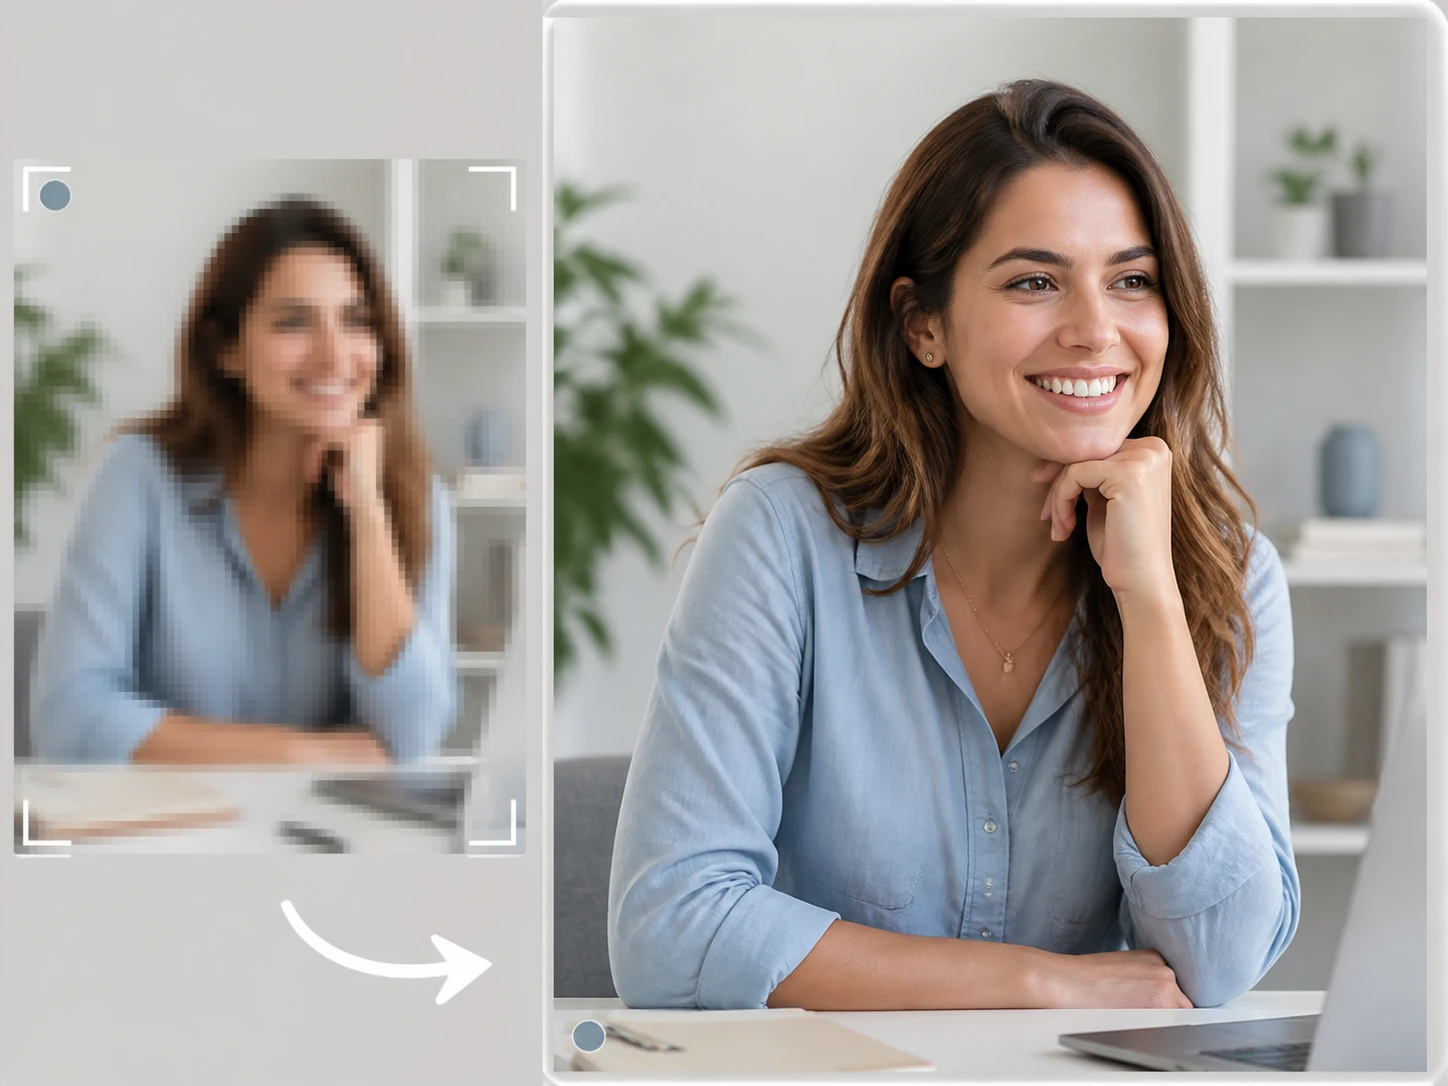
People Making Covers And Thumbnails
The shot you want was grabbed from footage, so it arrives carrying every problem of the clip it came from, and at thumbnail size in a feed those problems are the first thing anyone notices. Judging what image sharpen has to work with here gets you further than swapping frame after frame hoping a cleaner one exists.
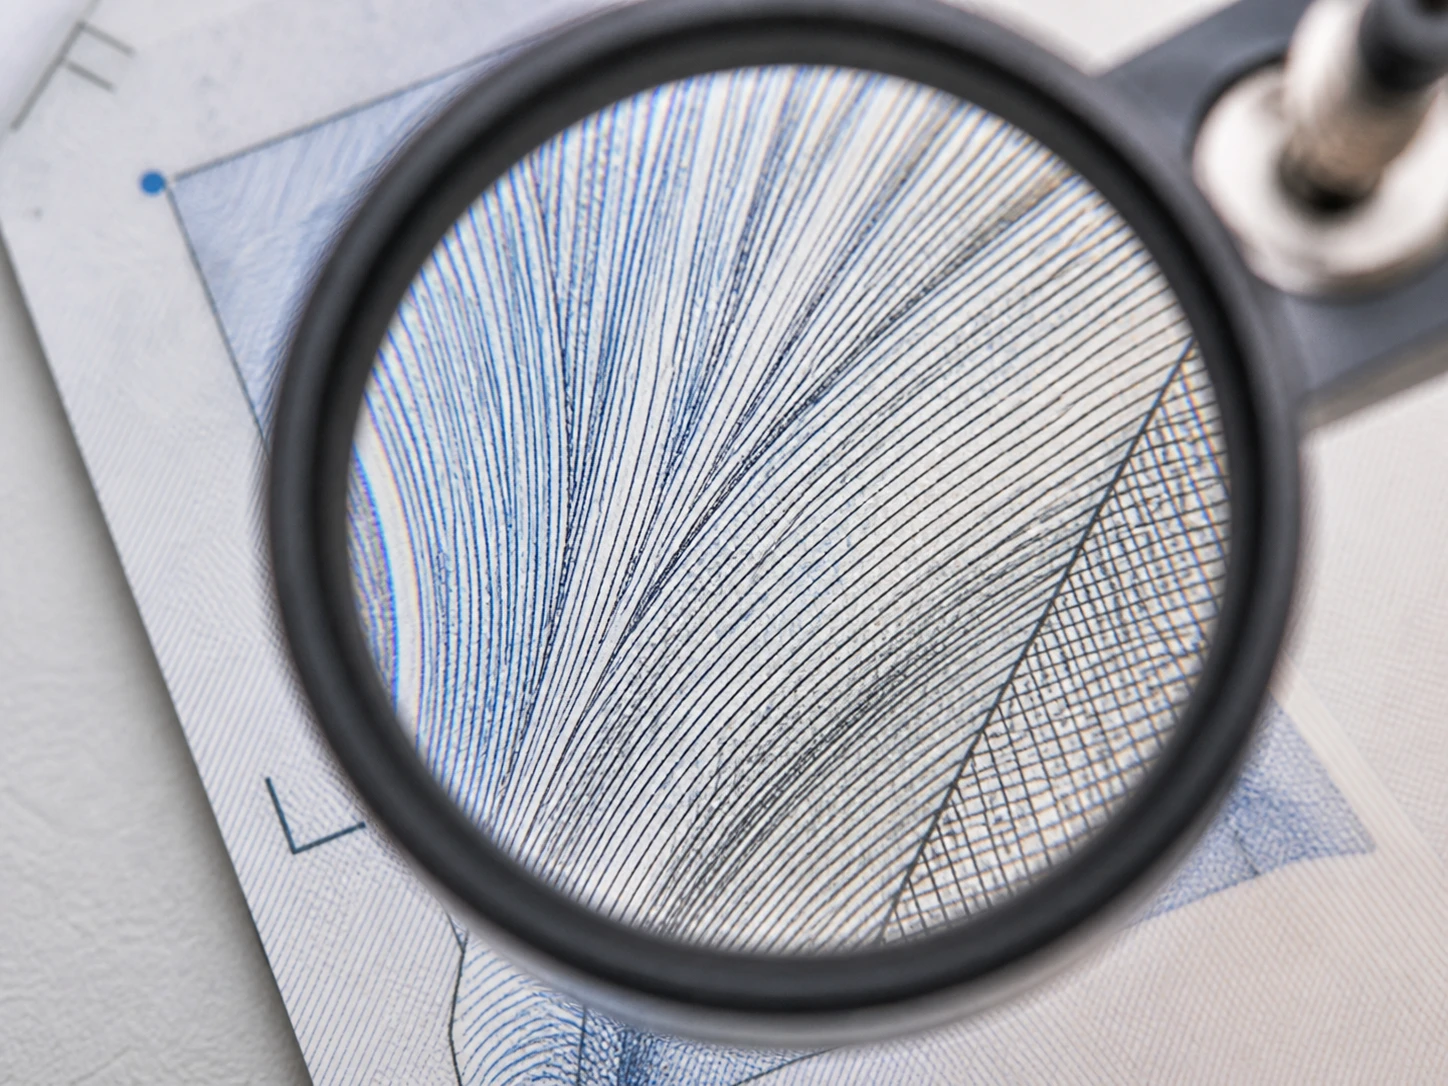
Screenshots And Document Scans
What you need from a screenshot or a scanned page is not a prettier picture, it is that one line of text staying legible. The smallest point size on the page decides whether image sharpen is worth running, so begin with the type you can least afford to lose.
Phone Shots With No Second Take
You took it once, there was no burst to pick from, and no better version waits on the roll. So the question is never which frame is best; it is how much this single shot still has to give. That is exactly where an image sharpen run earns its place or does not.
Why Image Sharpen Starts With One Photo
The reason is simple, and it shapes everything about image sharpen online in your browser: a photo has only what it kept.

One Photo Has Only Itself
With video, every frame has neighbours on both sides to lend a missing edge. A photo has none of that. Whatever ai image sharpen brings back must come from what this one picture still holds, so the shot in front of you is where image sharpen always begins.
How Blurred It Is Sets The Limit
Edges that only drifted apart still sit in the file, so a slight focus miss, a lens that reads soft, or the mush left by heavy compression all leave image sharpen room to work. Once strokes fuse into a single mass and hairs merge into a band, those edges are genuinely gone, and no amount of photo sharpening restores what the sensor never caught.
When It Is Noise Not Blur
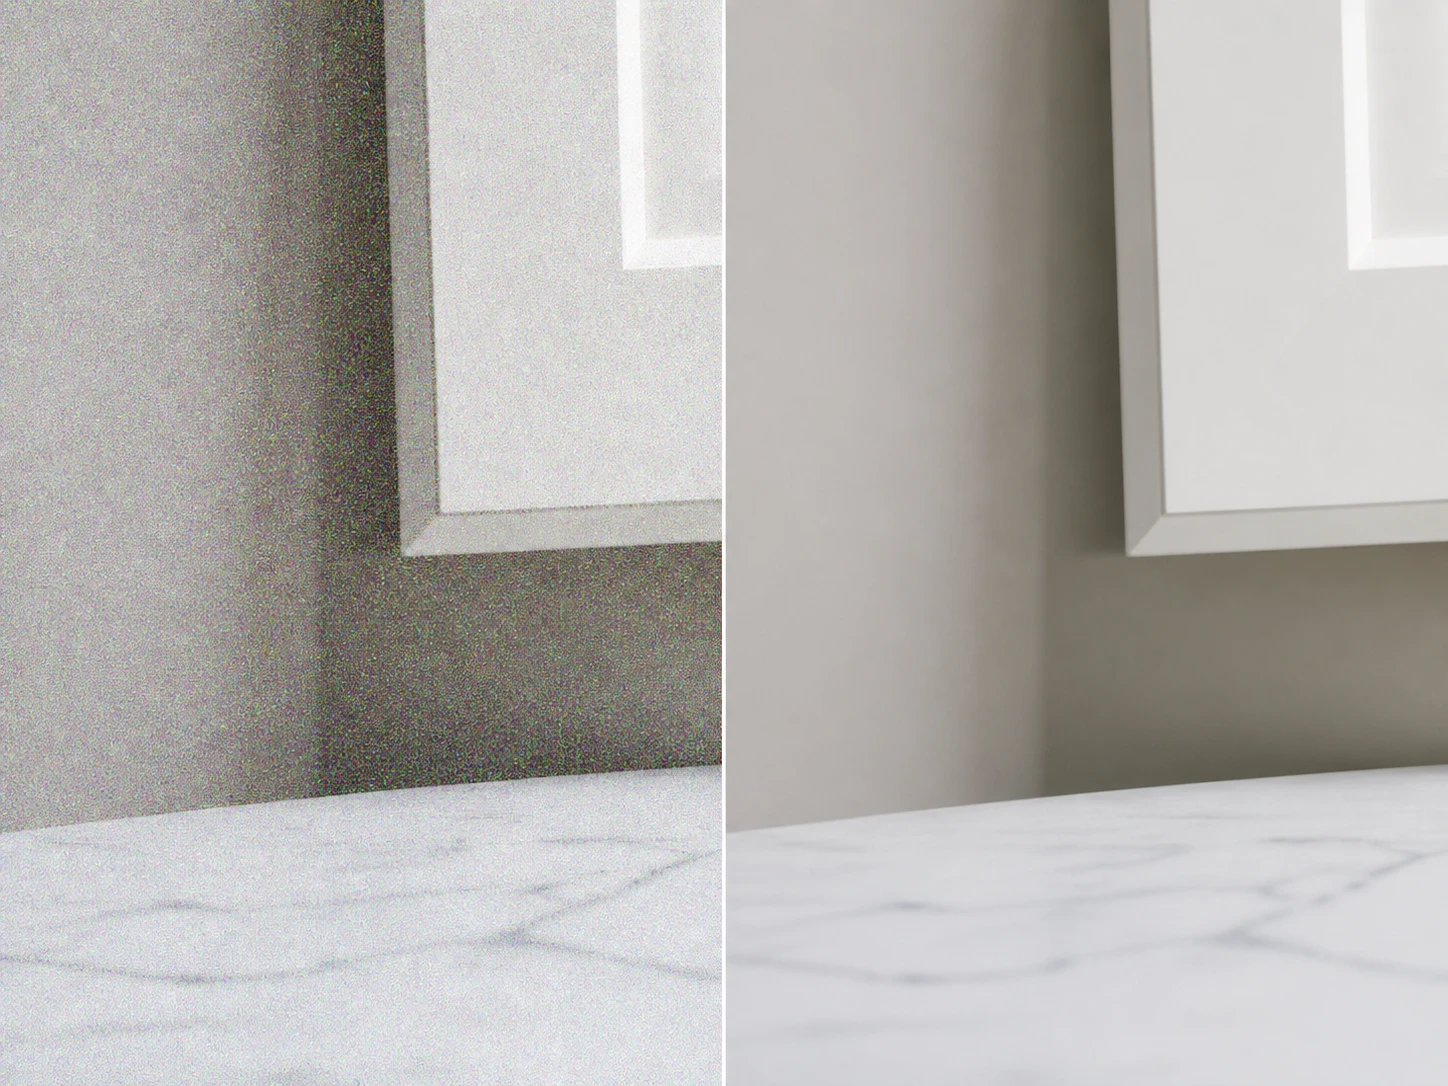
Shoot in low light or at a high ISO and the coloured specks in the shadows are noise, not blur. Push a file through repeated resaving and the blocky smears are compression. A sharpen image tool aimed at those only sharpens the mess along with the picture, so the two are kept on separate paths, and the noisier of two equally soft shots always has less left to recover.
Small Details Drop Out First
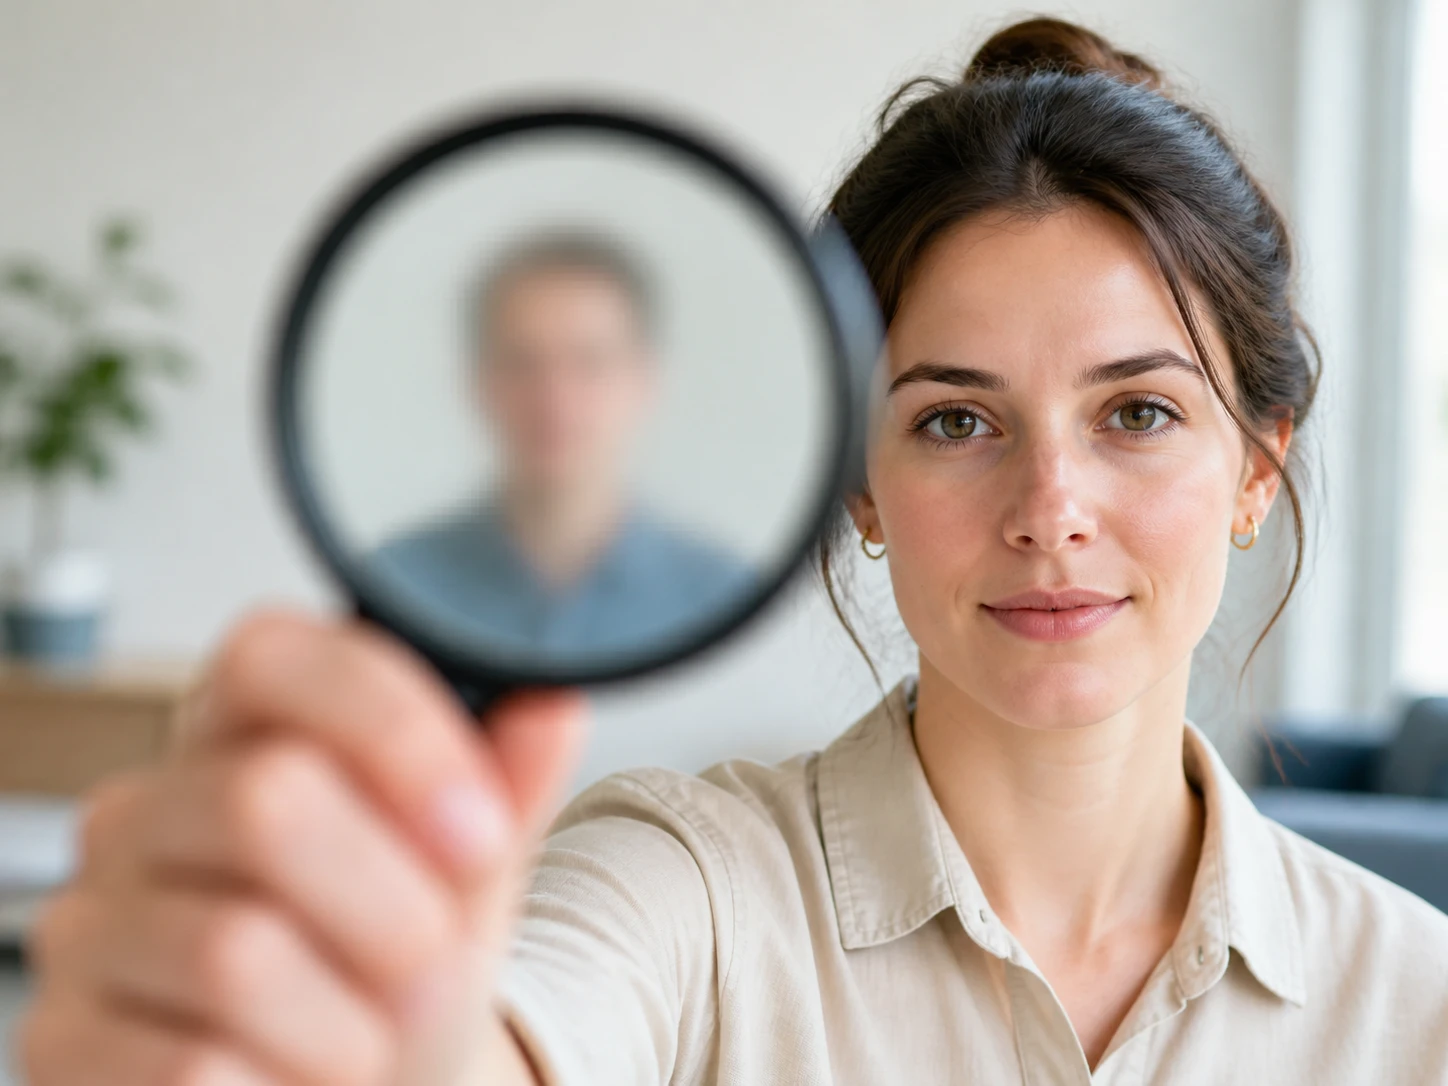
Headroom is never even across a frame. A picture can look fine overall while the distant face and the smallest line of text have already dissolved. How small the thing you need to read is matters as much as how soft the whole picture looks, which is why any plan to sharpen low resolution image files opens with one question: is that detail still there for image sharpen to find?
What People Ask Before Image Sharpen
Image Sharpen: Remaster The Photo You Have
See what image sharpen reads in your picture on Enhancer.video, where new accounts start with 10 free credits and no card to claim them.