
Video Denoiser
Not every speck on screen is the same thing, so the video denoiser first tells low light grain apart from compression blocks and old tape noise, then clears the kind you actually have while the strength stays under your hand.

Who Leans On This Video Denoiser
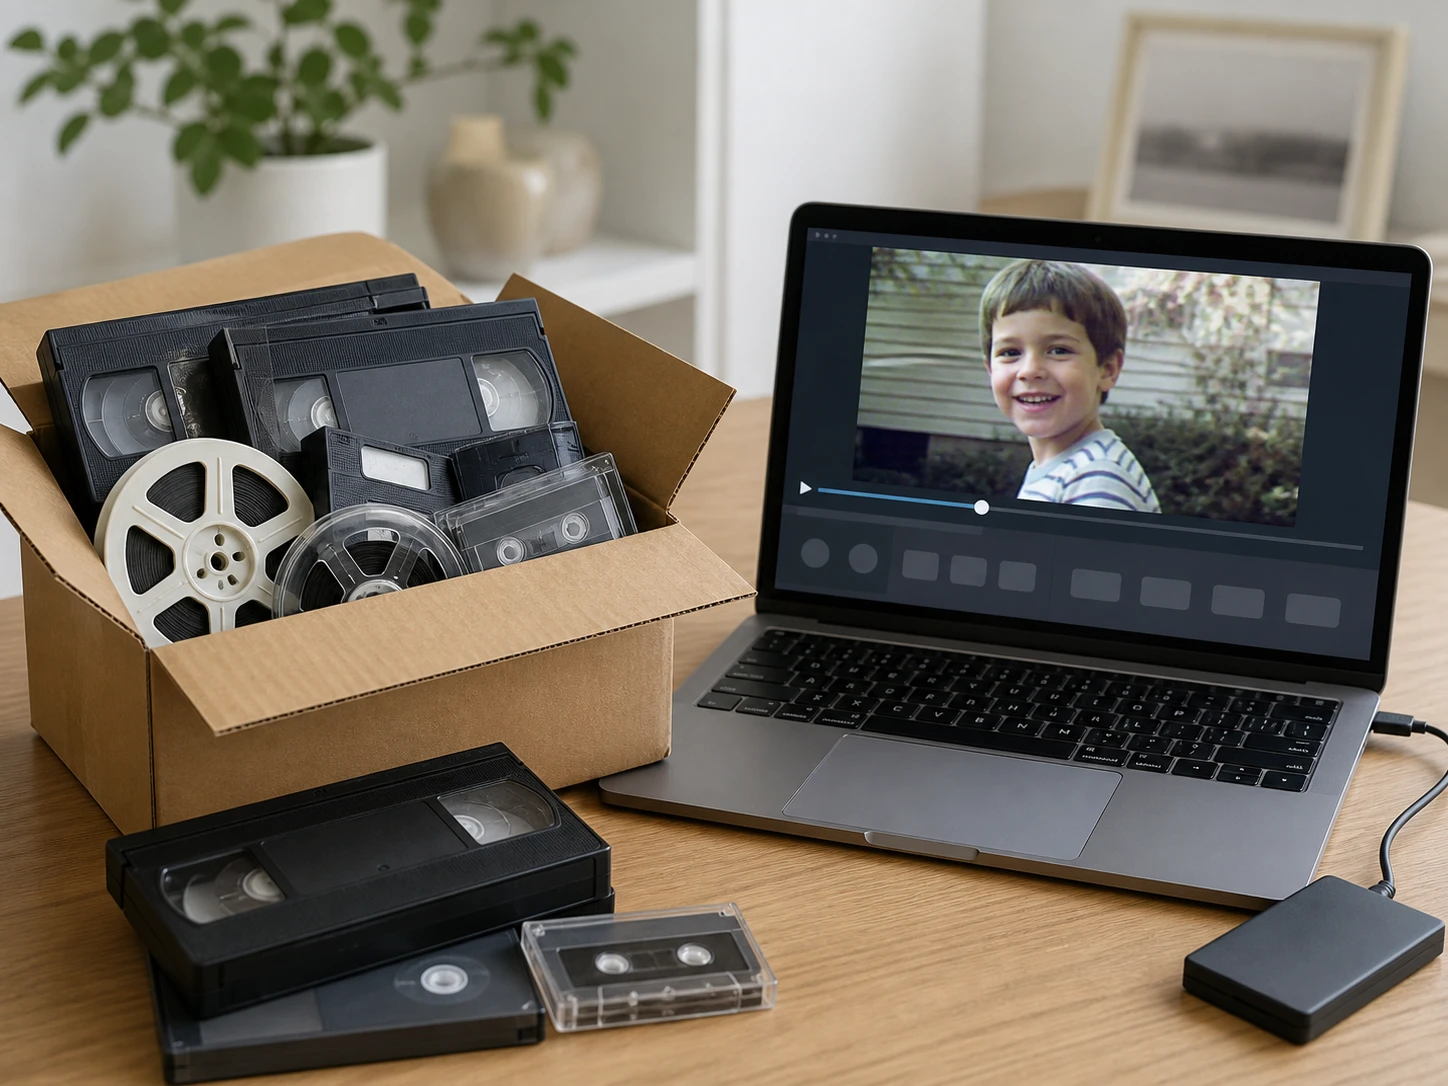
Home Movie Owners With One Copy Left
You have a box of videotapes and old camcorder reels, and once each one was transferred to a file, that file became the only copy left; playing the original tape again will not bring back anything that is not already there. The hard part is sitting in front of the screen and not knowing what to blame for how rough it looks, whether the room was too dark the day it was shot, the tape itself, or the transfer someone ran years later. The video denoiser separates those first, so you can tell what there is to hope for before anything gets touched.

Editors Placing Archive Into Timelines
Archive clips all look about alike previewing on a laptop, then behave differently once they land in the sequence. Camera noise, compression blocks and tape noise are three separate things, and each one carries its own plan and its own cost. A video denoiser that sorts them by cause before conform saves you from meeting them all at once down the line.

Editors Of Repeatedly Reposted Clips
The material reached the video denoiser after the platform exported it again several times, so what you see is blocks rather than grain. Which generation you are holding decides straight away how much is left to bring back, and this video cleanup ai works from that copy exactly as it stands.
Four Kinds Of Noise, Four Paths
The kind of noise sets the path, and every video denoise job leaves a different amount to work with.

Each Noise Type Takes Its Own Path
Grain from gain in the dark, blocks where the encoder threw away high frequencies, and the noise an old tape carries all come from different causes, so a single filter, unlike the video denoiser, cannot handle them together. A video denoiser here runs the fitting path for each and clears them in the same job, without asking you to process the clip more than once.

Those Squares Are Blocks, Not Grain
After a clip is posted and saved a few more times, what turns up is square, edged blocks, a different thing from the fine grain a camera makes, since the high frequencies went missing on each new export. Flat areas like sky, a backdrop or a wall, and fast camera moves, give first. This side of the job is video artifact removal, and to remove artifacts from video that went through many exports, a video denoiser reads how few generations are left.

Old Tape Noise Named For What It Is
Files off VHS, DV and home camcorders carry a coarse grain across the frame with shadows and saturated colors still drifting; it is neither camera gain in the dark nor a compression product, but the mark of the tape and analog transfer chain itself. How many generations from the master, and how long the tape sat, decide how much of it a video grain remover can lift.
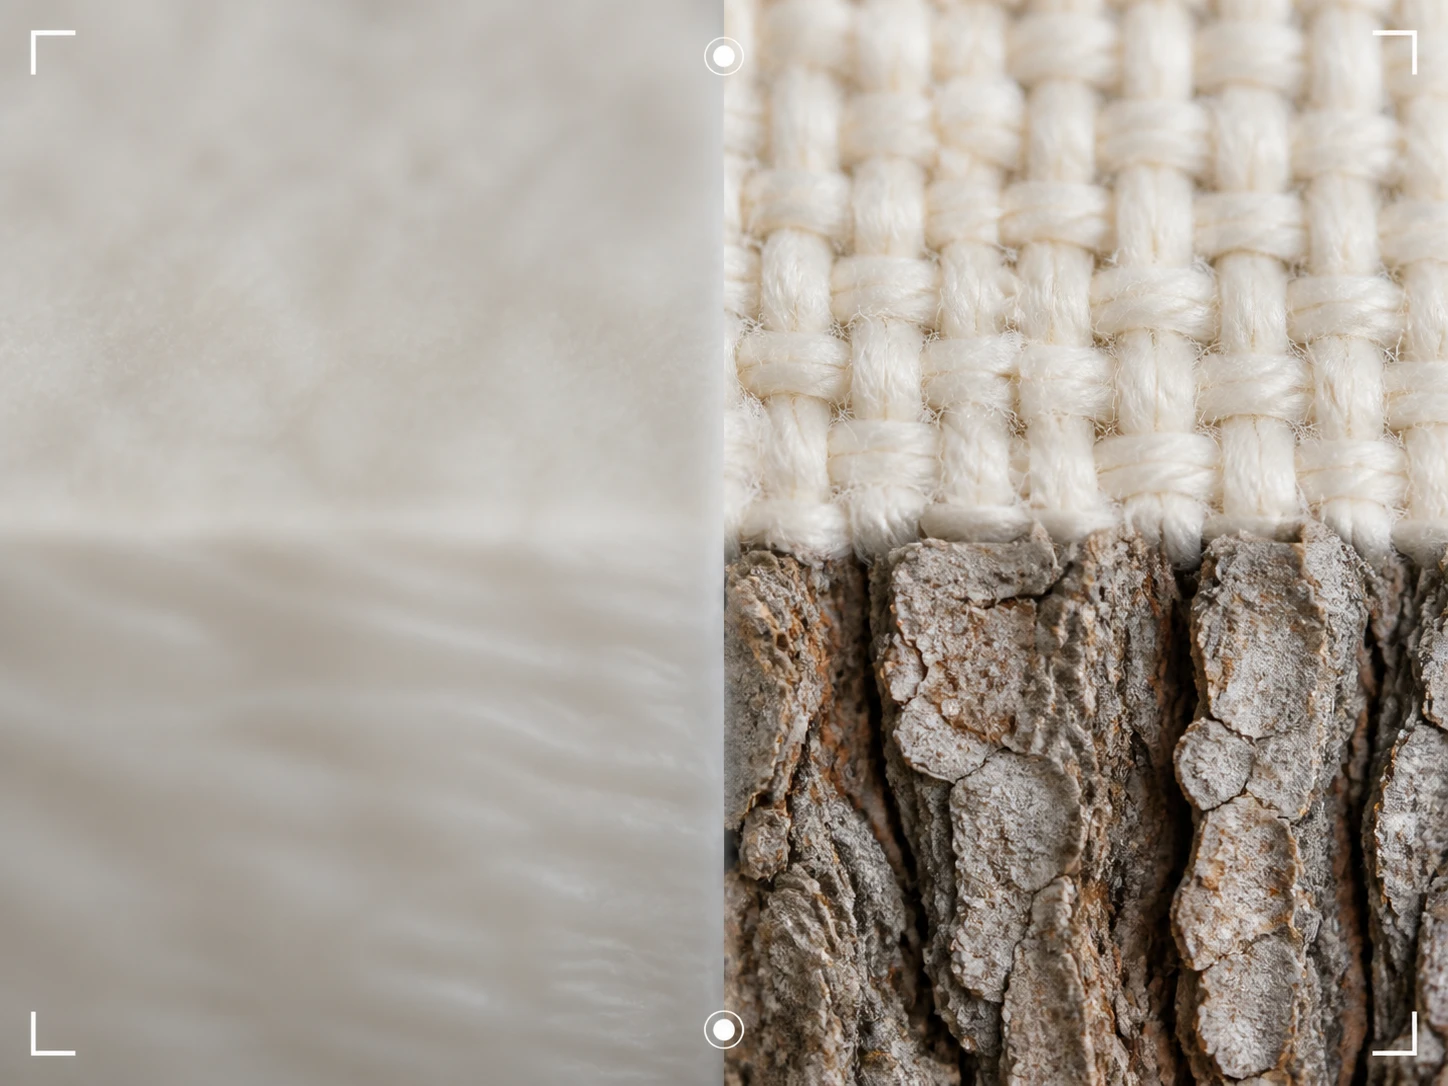
AI Clips Are Too Clean, Not Noisy
An AI generated clip is often not low on resolution at all; the trouble sits elsewhere, because it was smoothed as it was made, skin missing its pores and cloth missing its weave. The video denoiser does not send that footage down the denoise path at all; it goes the other way, bringing real texture back to a surface that was flattened.
From Your Clip To A Clean File
The noise on your clip was set the moment it was shot, dubbed, or generated, and that origin decides which path the video denoiser takes and how much of it can clear.

Upload The Noisiest Clip
Drag in an MP4 or MOV, or several at once, right in the browser with nothing to install. As a video denoiser online, Enhancer.video runs where you already are, so start with the clip whose grain or blocks bother you most, since that is the one to send the video denoiser first.

Let It Read The Noise
The video denoiser works out whether the noise came from low light gain, repeated compression, or an old tape transfer, then runs the path that fits and clears them together while keeping real texture apart from the noise. Prefer to steer it yourself? Pick a model or a scene and the settings fill in, the denoise strength is yours to move, and whether to change the frame size stays a separate choice.
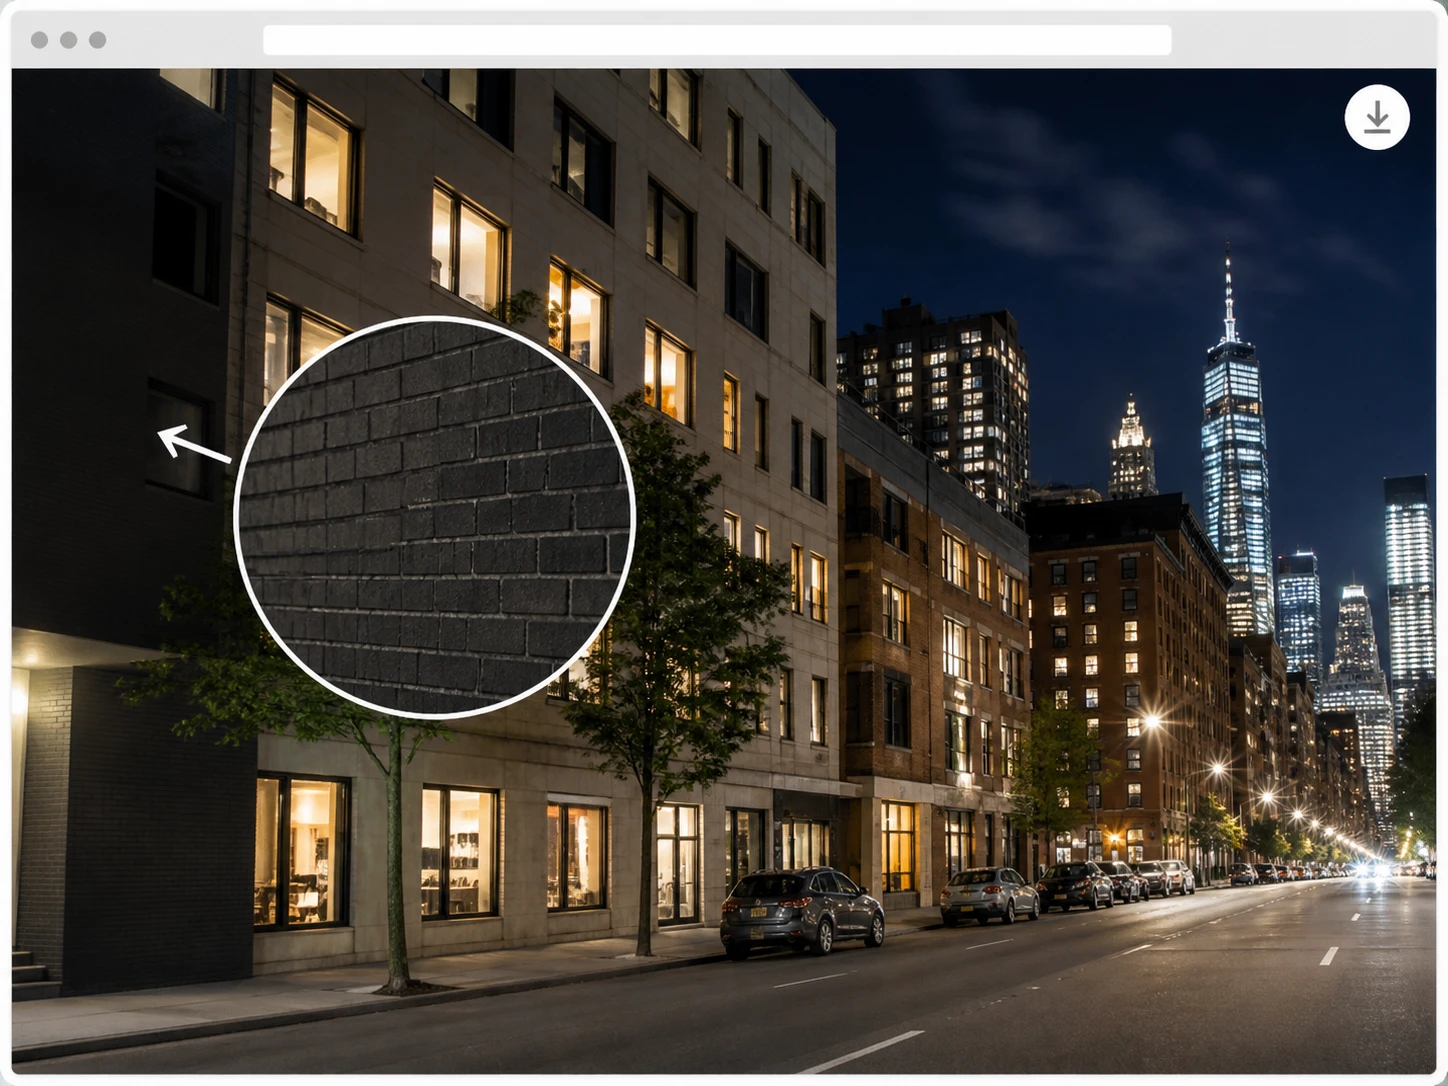
Download It Clean
Get the finished clip back from the video denoiser with no watermark, at the same resolution you sent, saved to your account so you can return for it later. If the read was off, say the clip was really an over smoothed AI generated shot rather than noise, switch the scene and run it again, which is a normal diagnostic step and not a patch for a failure.
Clips A Video Denoiser Is Built For
Each source leaves a different kind of noise, and the video denoiser leaves each a different amount of room to clean up.
Grainy Video
By the time a home tape reaches you, it has usually been dubbed and copied once before anyone digitized it, so the grainy video in your hands sits several steps from the camera original. Each step earlier in that chain leaves the video denoiser less to pull back.
Noisy Video
Game capture and livestream replays look fine while nothing moves, then break apart the instant the camera whips around, because the bitrate could not keep up and the encoder tossed what was inside each block. Those are blocks, not grain, and they do not give the video denoiser the same path to clean.
Concert And Late Night Stage Clips
Stage light is whatever the venue hands you, so the camera trades it for gain and the shadows fill with grain and a wash of colored specks. For the video denoiser this is the source with the most left to work with, since the noise sits on top and the picture underneath is still intact. To denoise footage like this is mostly lifting that top layer away.
Clips Passed Through Many Reposts
A highlight that has been saved and reposted loses a little on every new export, so the generation you are holding sets what the video denoiser is left to recover. Feed in the copy you have and the video denoiser works from where it truly is, not from an original you no longer own.
Answers About Grainy And Noisy Footage
Put Your Video Denoiser To Work
Bring the clip that has bothered you longest to the video denoiser and let Enhancer.video denoise video you already shot, with 10 free credits to start and no card needed at sign up.