


Image Upscaler
How far you can enlarge a picture depends on what it still holds, not on the size you had in mind, and Enhancer.video is the image upscaler that keeps that call yours.
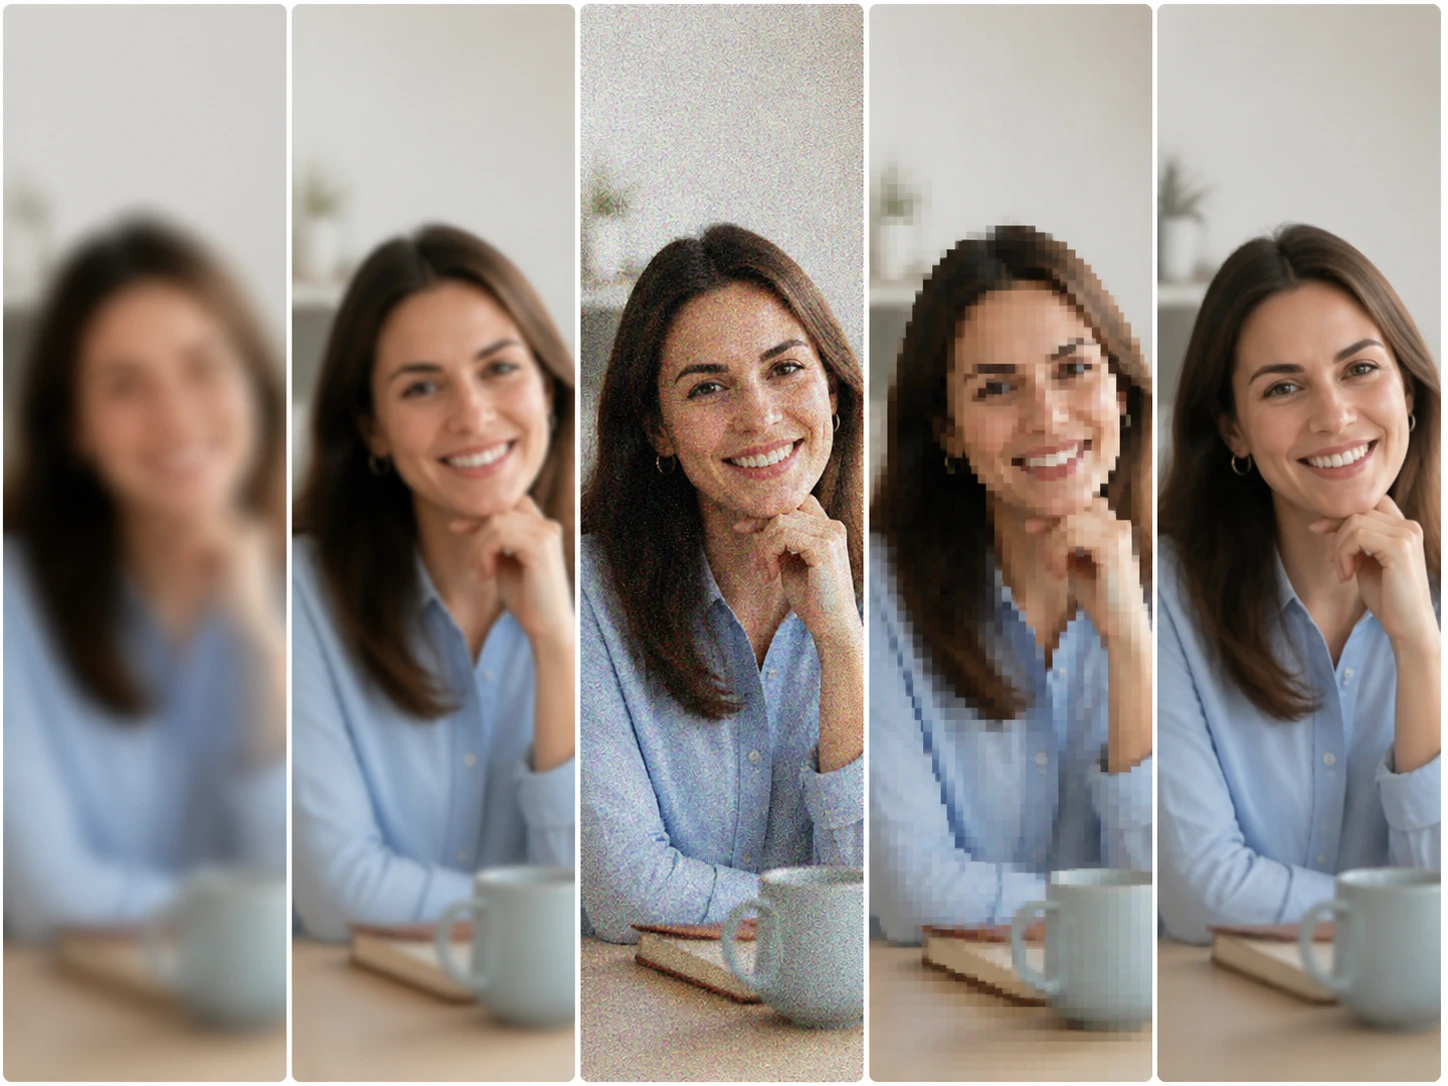
For People Holding Secondhand Images
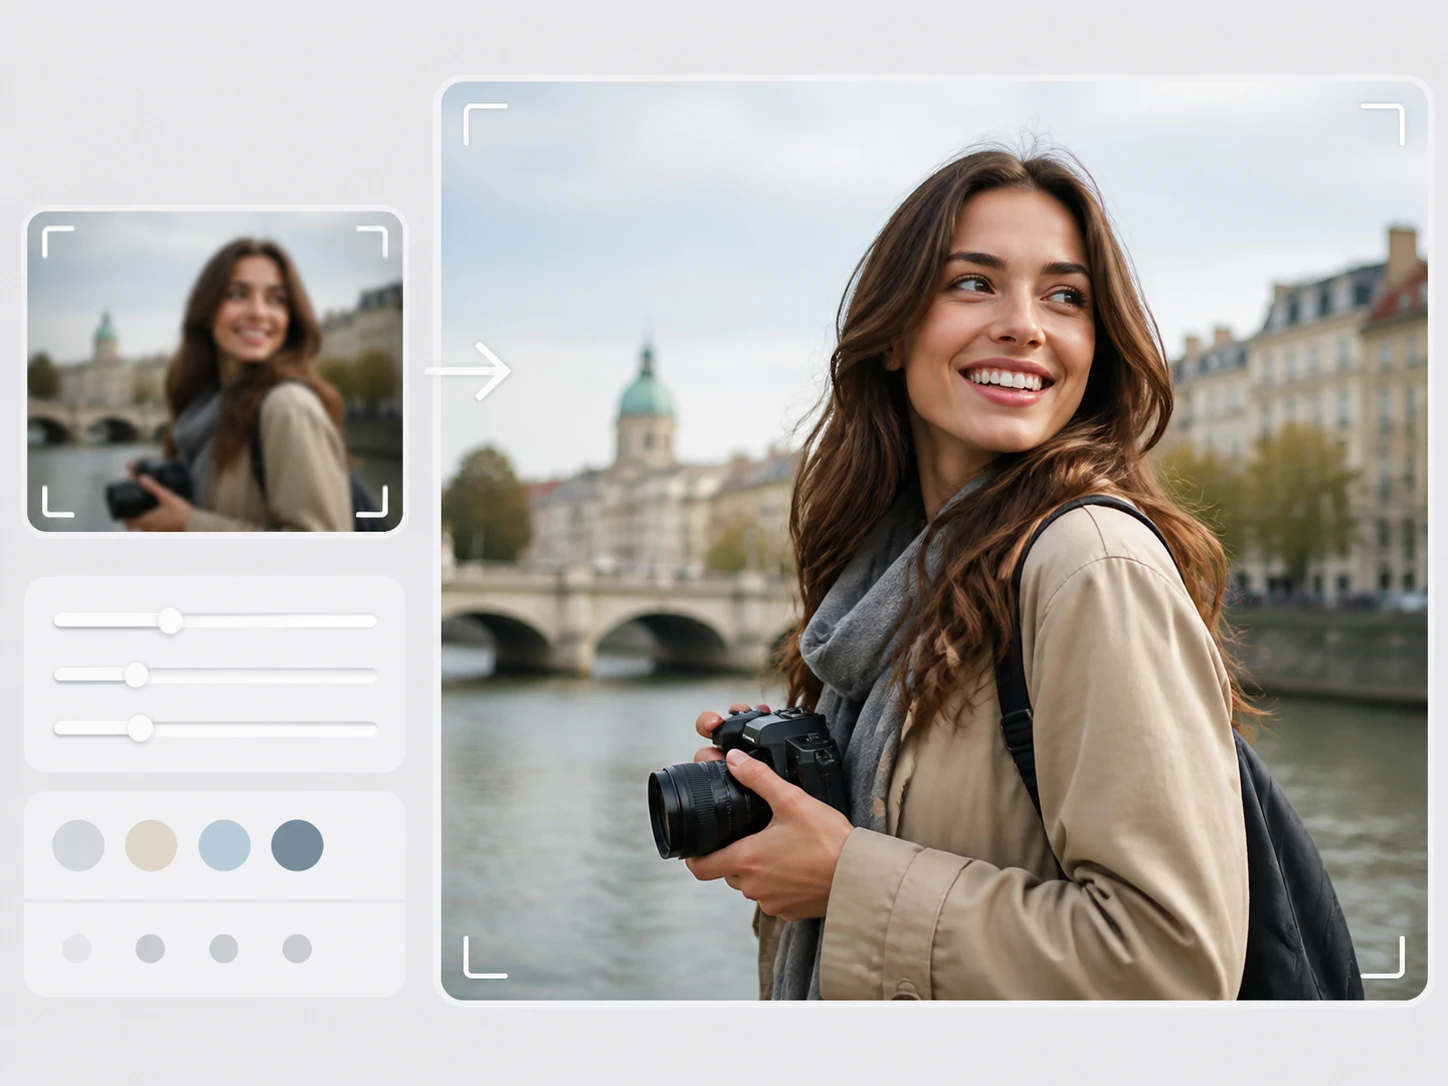
Covers and Thumbnails From Footage
The frame the image upscaler keeps for a cover or thumbnail can only carry what the source footage gave it. If that footage was soft or heavily compressed, no size setting brings the missing part back, so look at what the source was before you decide the frame is worth handing to the image upscaler.
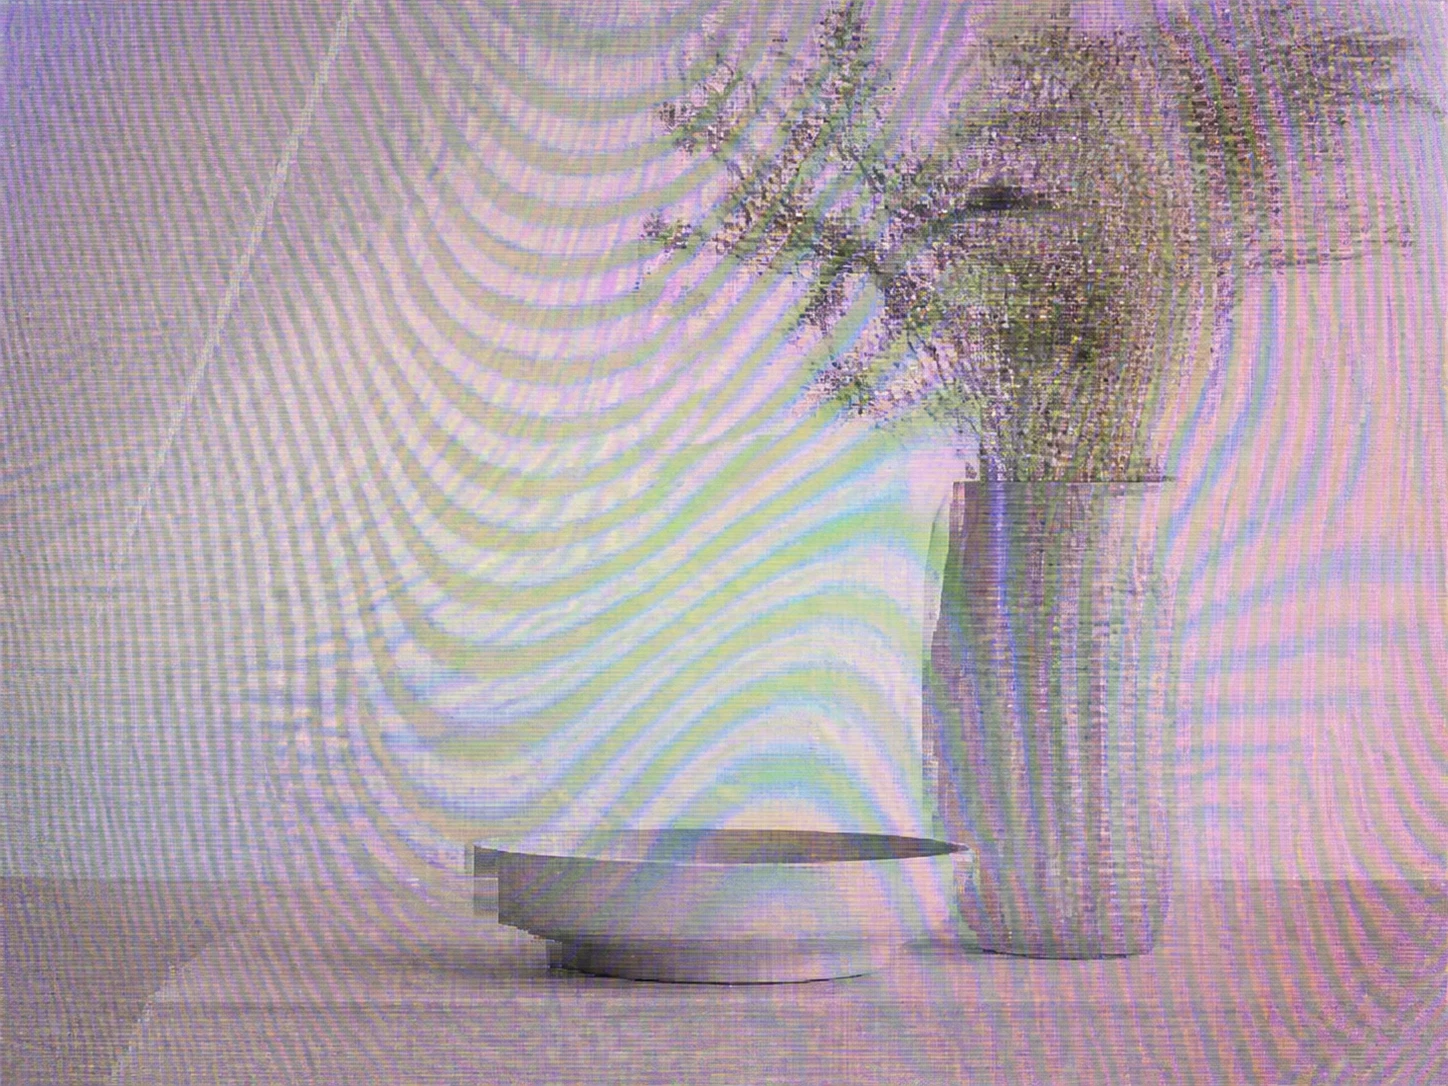
When the Image Passed Through Hands
Files that were saved again, photographed off a screen, or enlarged once by someone else share one trap: the flaw you see now was not made in a single step, so pushing them through the image upscaler again only enlarges the marks the last step left. Sort out what happened before you feed it to an image enlarger again.

Screenshots and Screen Recordings
A screenshot's pixels are native, so when one looks soft it is usually from being scaled, not from how it was captured, which makes it a different source class than a photo. Upscale screenshot text and the image upscaler keeps it readable at the larger size, sharpened but not retyped.
What the Image Upscaler Actually Fixes
Each path in Enhancer.video's image upscaler is tied to one kind of source and one kind of damage.
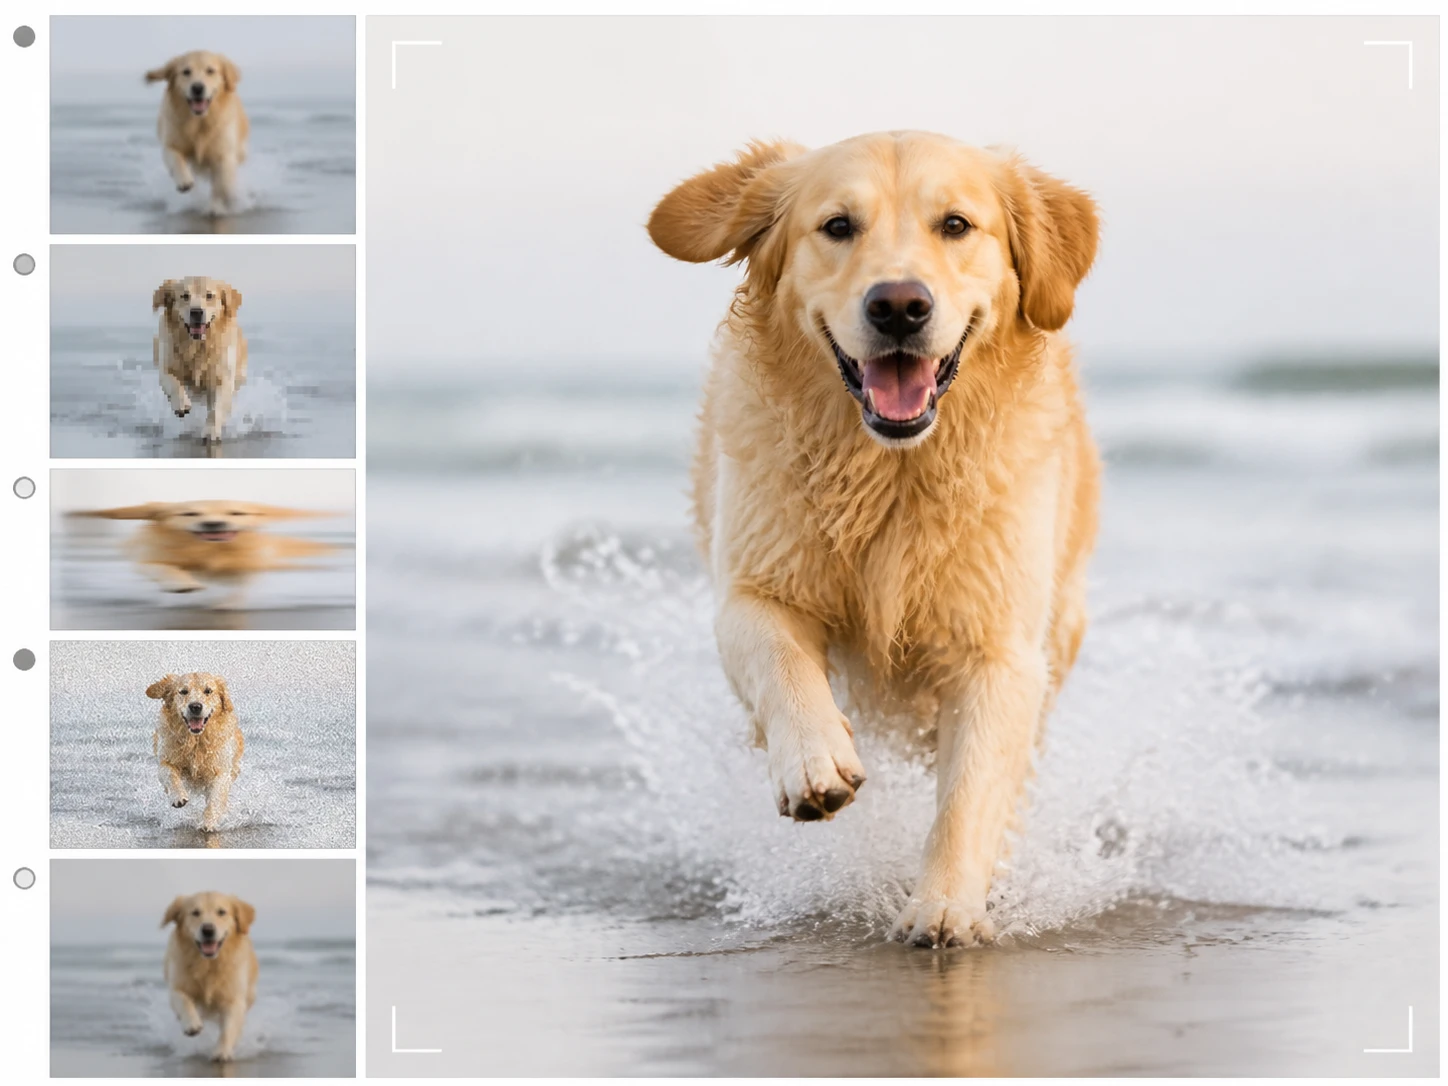
Five Sources, Five Ceilings
Small but clean, shot blurry, noisy in the shadows, saved too many times, or enlarged once already, each leaves the image upscaler a different amount to draw on. To unblur image files the cause of the softness sets the headroom, since a slight handheld shake has room to work with while a badly missed focus does not. The same image sharpener path only touches what the picture already contains.
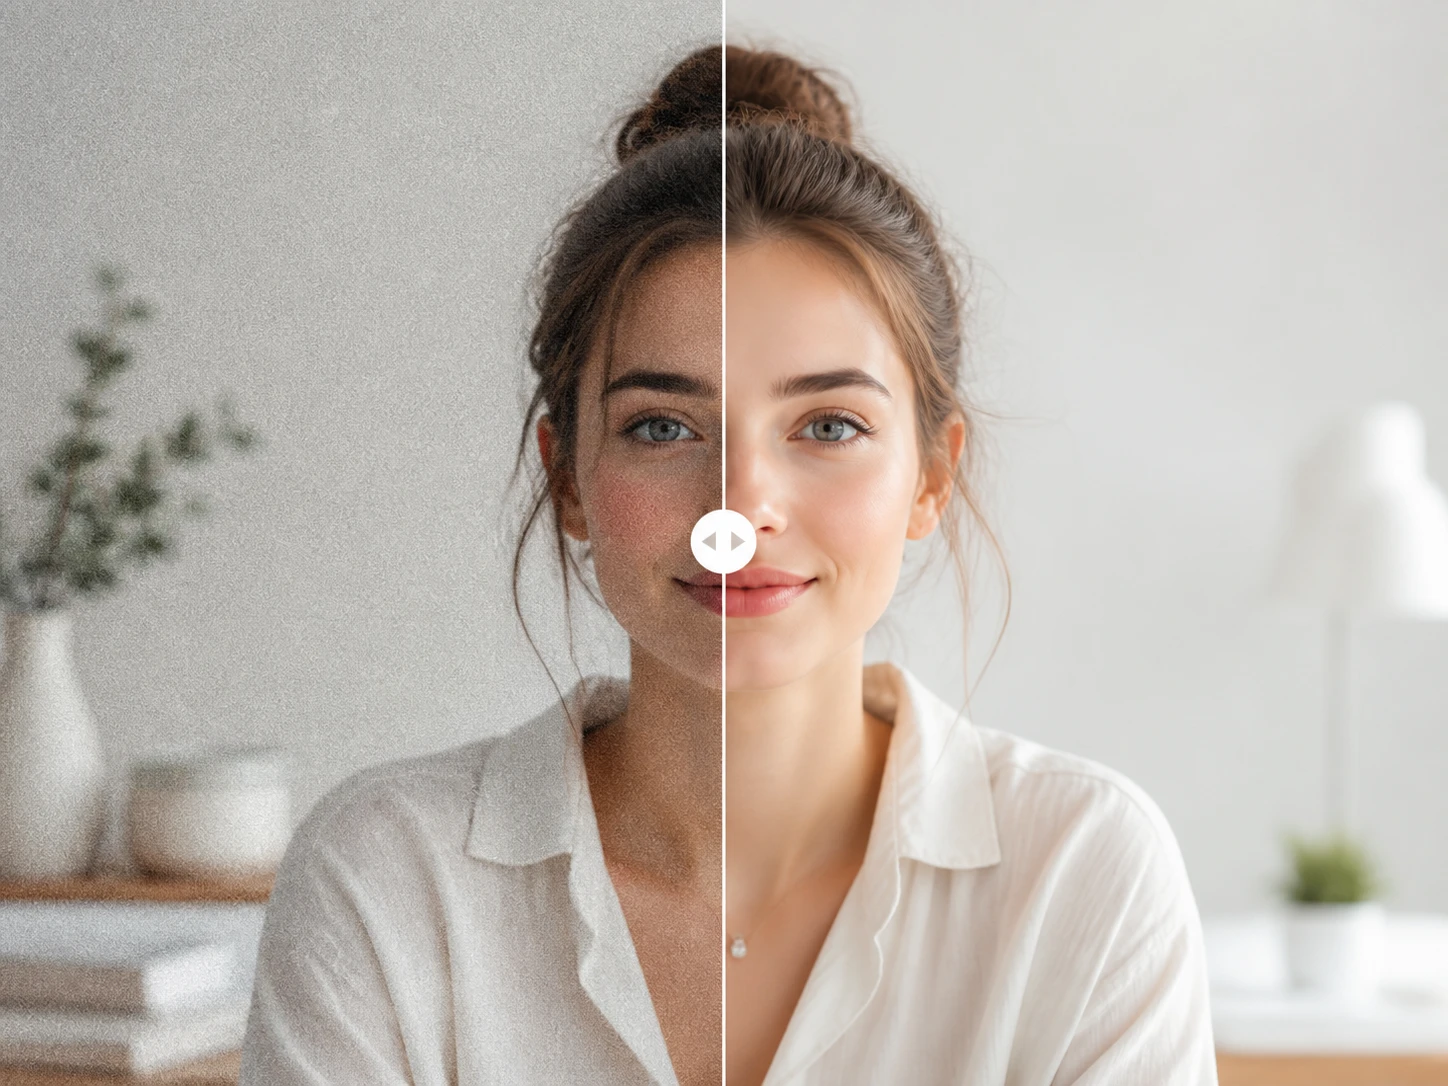
Bigger, or Just Cleaner
Sometimes you do not need a larger file at all, only a clean one. Run denoise image on its own and the output keeps its original size, with no enlargement forced on it. When you genuinely need more canvas, the image upscaler adds it then. Treating this image denoiser as a size tool alone is a common miss, because cleaning a compressed file first is what lets a later enlargement hold together.
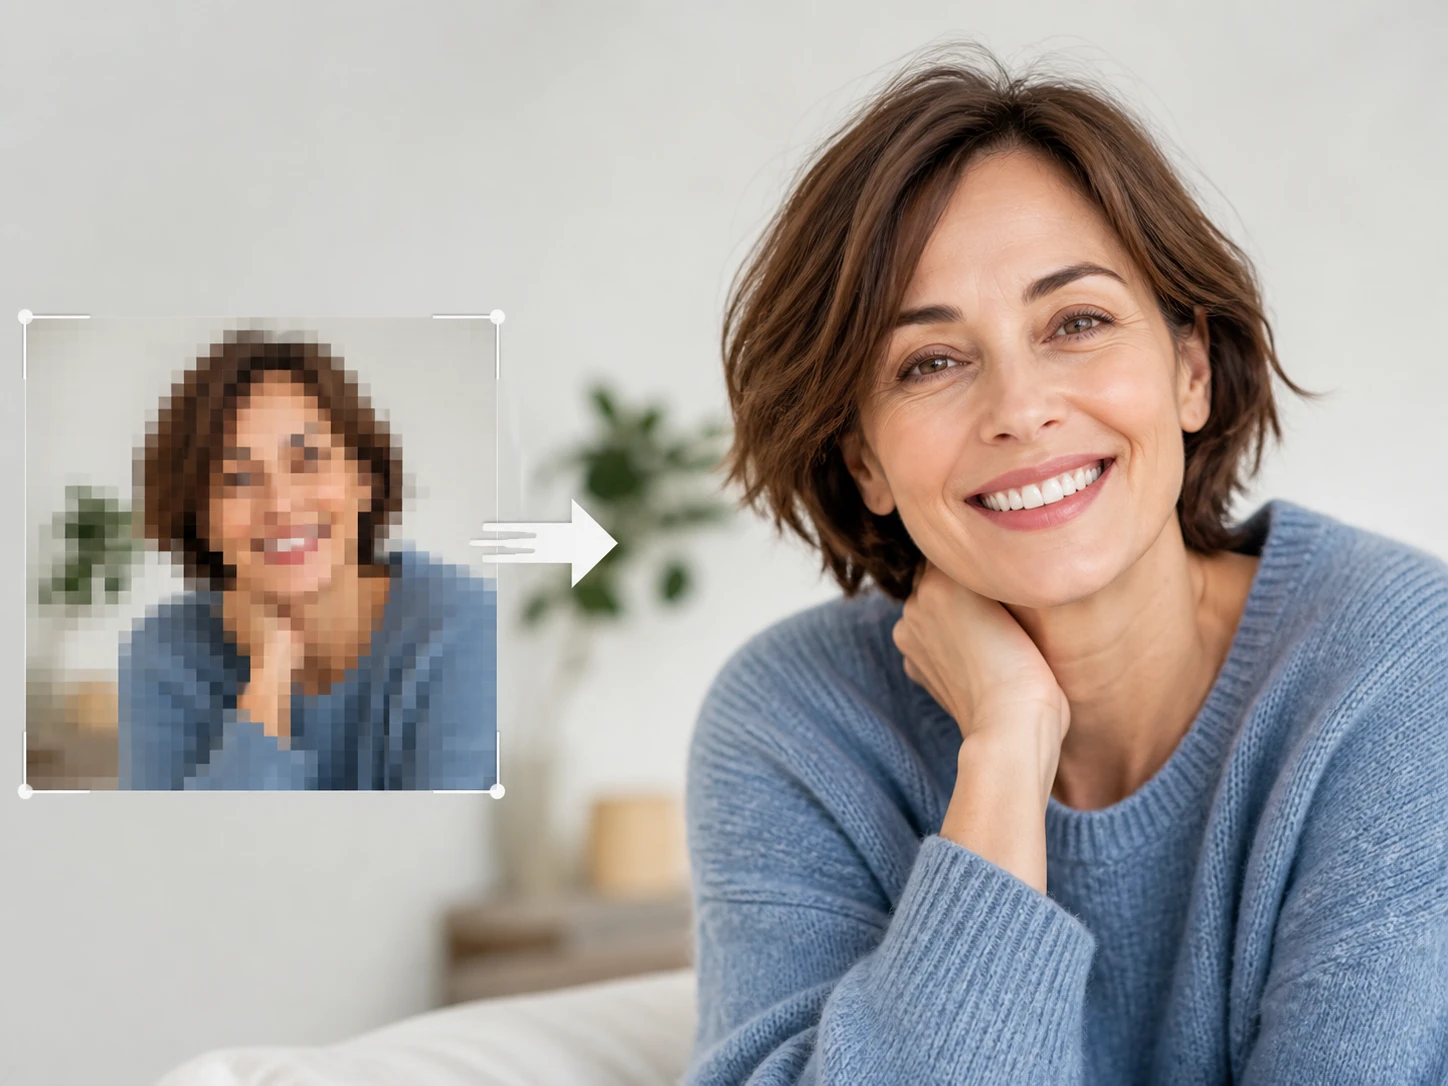
Clean First, Then Enlarge
Enlarge a file saved and saved again many times in the image upscaler and the blocks turn into repeating texture at the larger size. Clear the noise and compression artifacts first, then upscale photo detail in the same workflow, and far less of the old damage gets carried up with it.
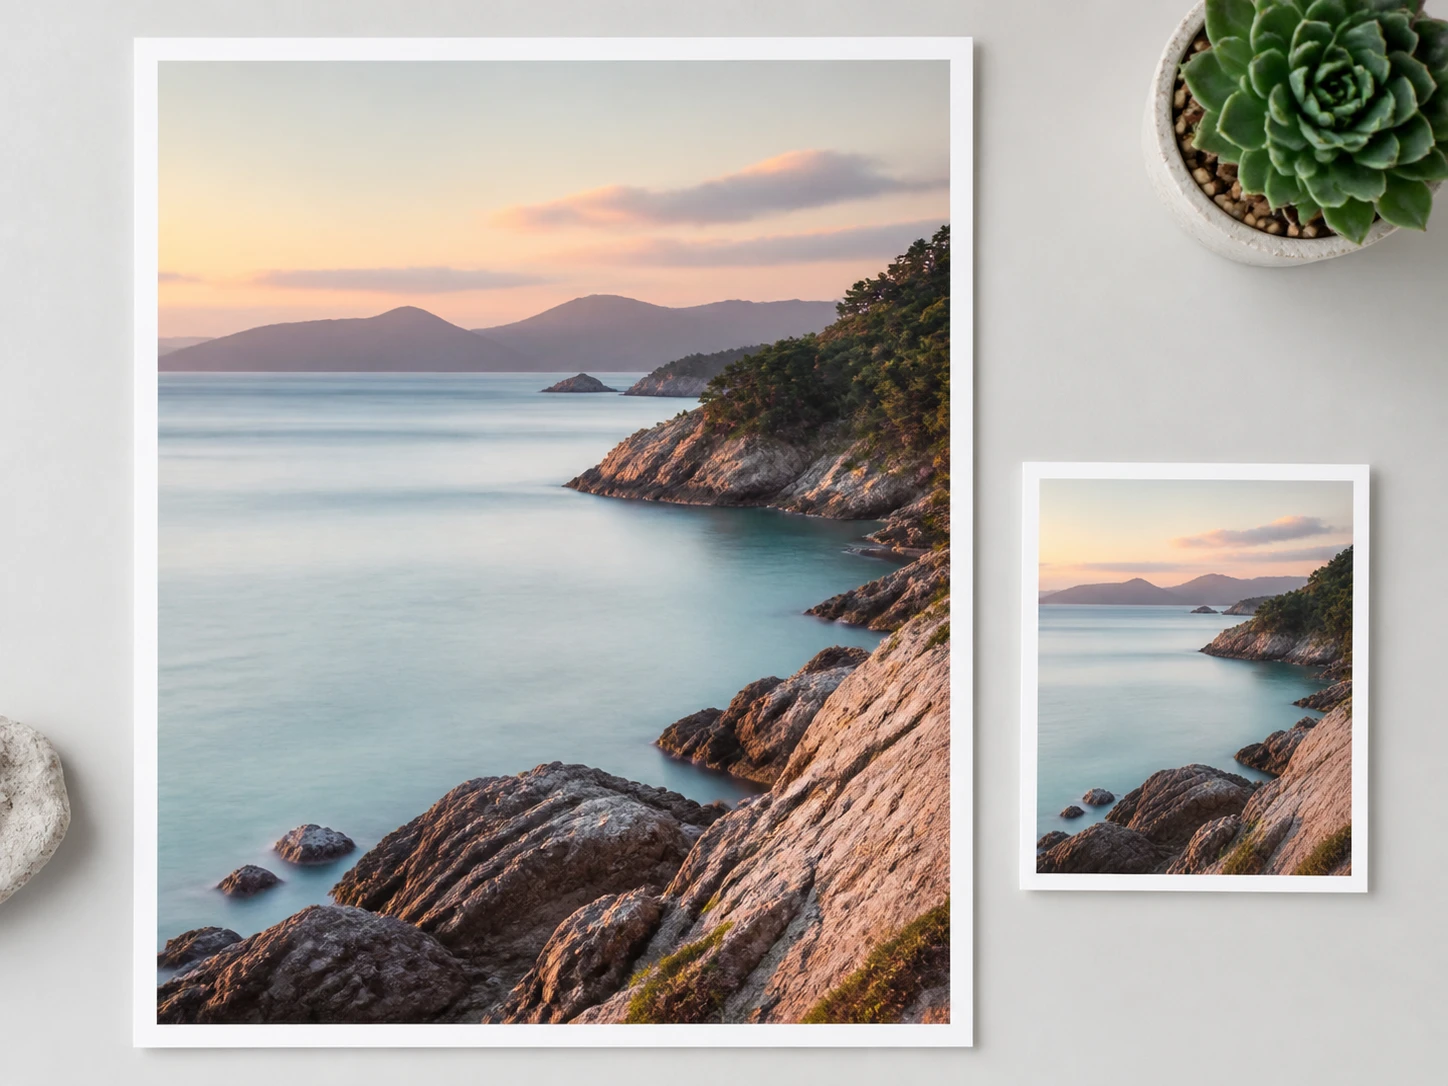
Sizes That Hold Up in Print
Take a file from 2x up to 8x, enough for both print and web, while the color and tone stay as they were in the original. This 8k image upscaler rebuilds size and detail only, so nothing gets recolored, and when you upscale image for print the tones you approved are the tones that come out. New accounts start with 10 credits and no card, so you can try this image upscaler free before spending anything.
Read the Image, Then Enlarge It
Three steps that begin with your own picture, not a target size, so the ai image upscaler works on the real problem.
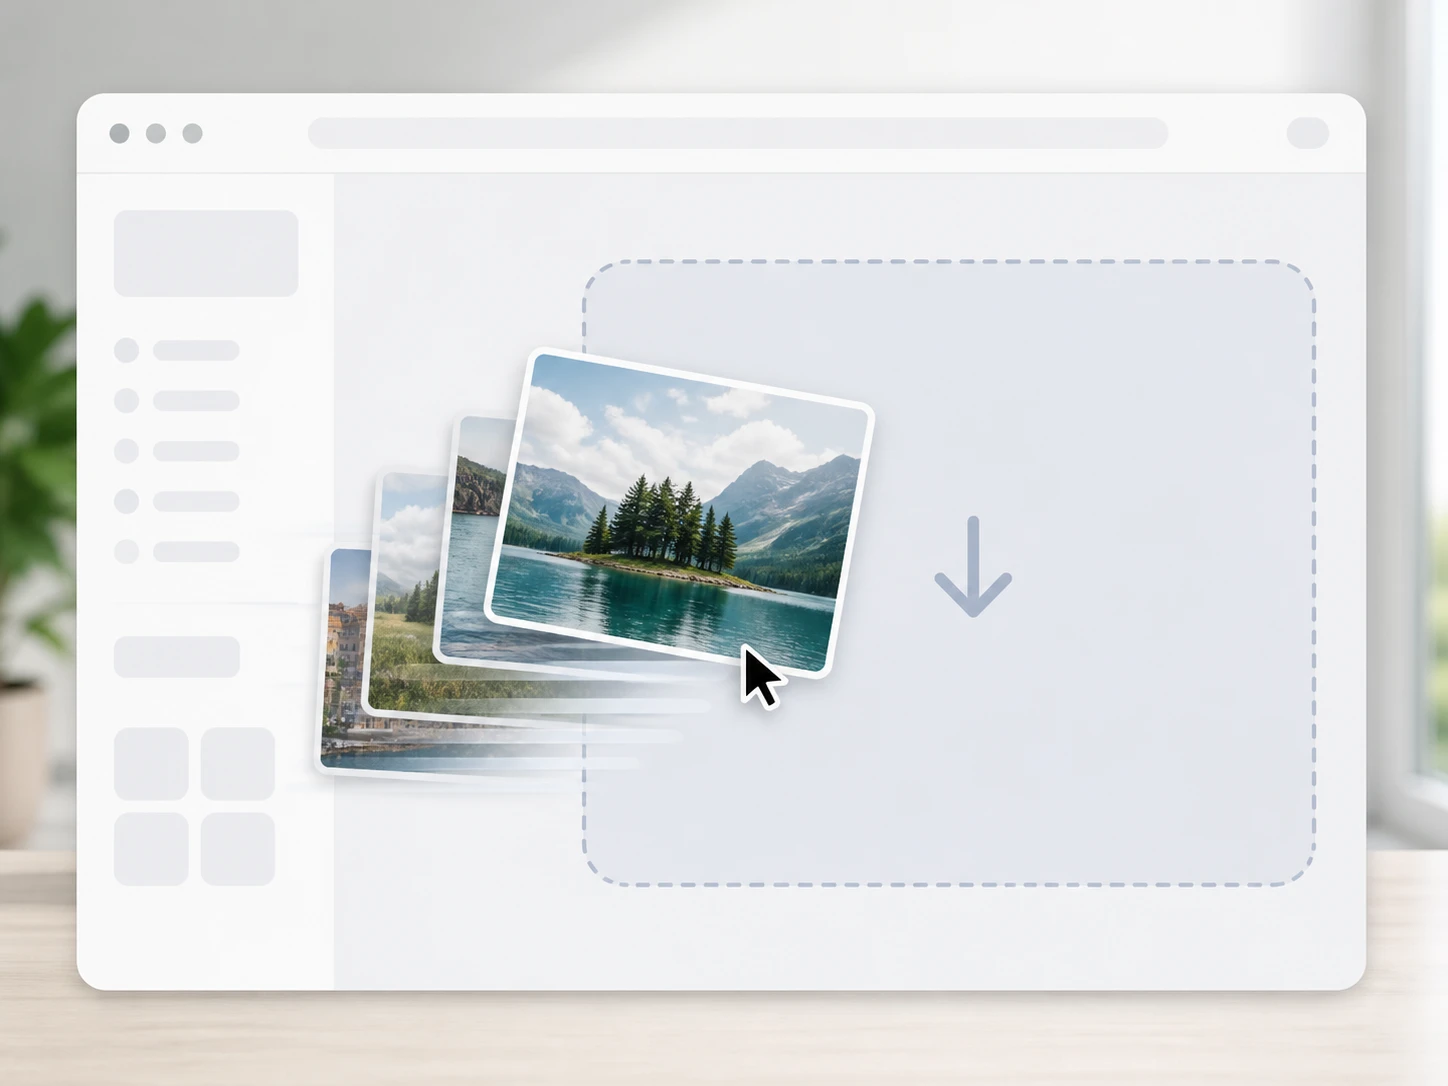
Spot Which Kind You Have
Before you upload, look at your own picture and place it in one of the five kinds: small but clean, shot blurry, noisy in the shadows, saved as a JPG too many times, or enlarged once already. Then drag it in or click to upload JPG, PNG, or WEBP, several at a time, and the image upscaler runs everything in the browser.
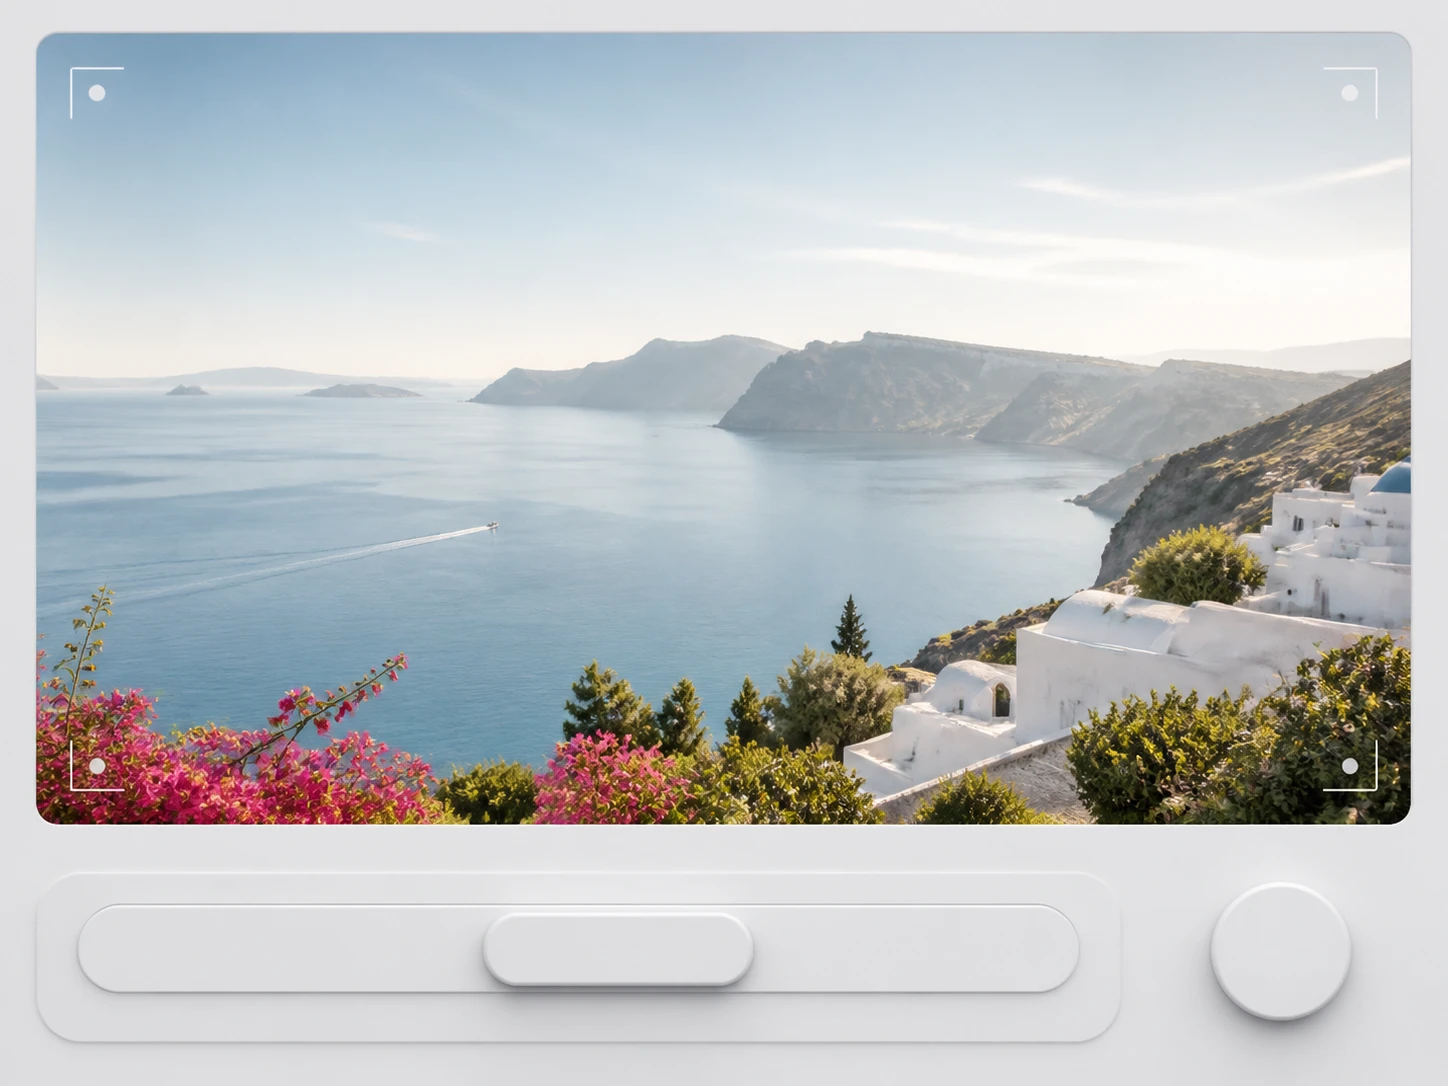
Pick Size or Just Cleanup
Choose only what you need. Want it larger? Set the amount, from 2x to 8x, up to 8K. Only want it clean? Run denoise on its own and the size stays put. Noise, compression blocks, and soft regions are each their own control in the image upscaler, and leaving it on the default picks the right model and settings by file type and scene, which is what makes this image upscaler quick to start.
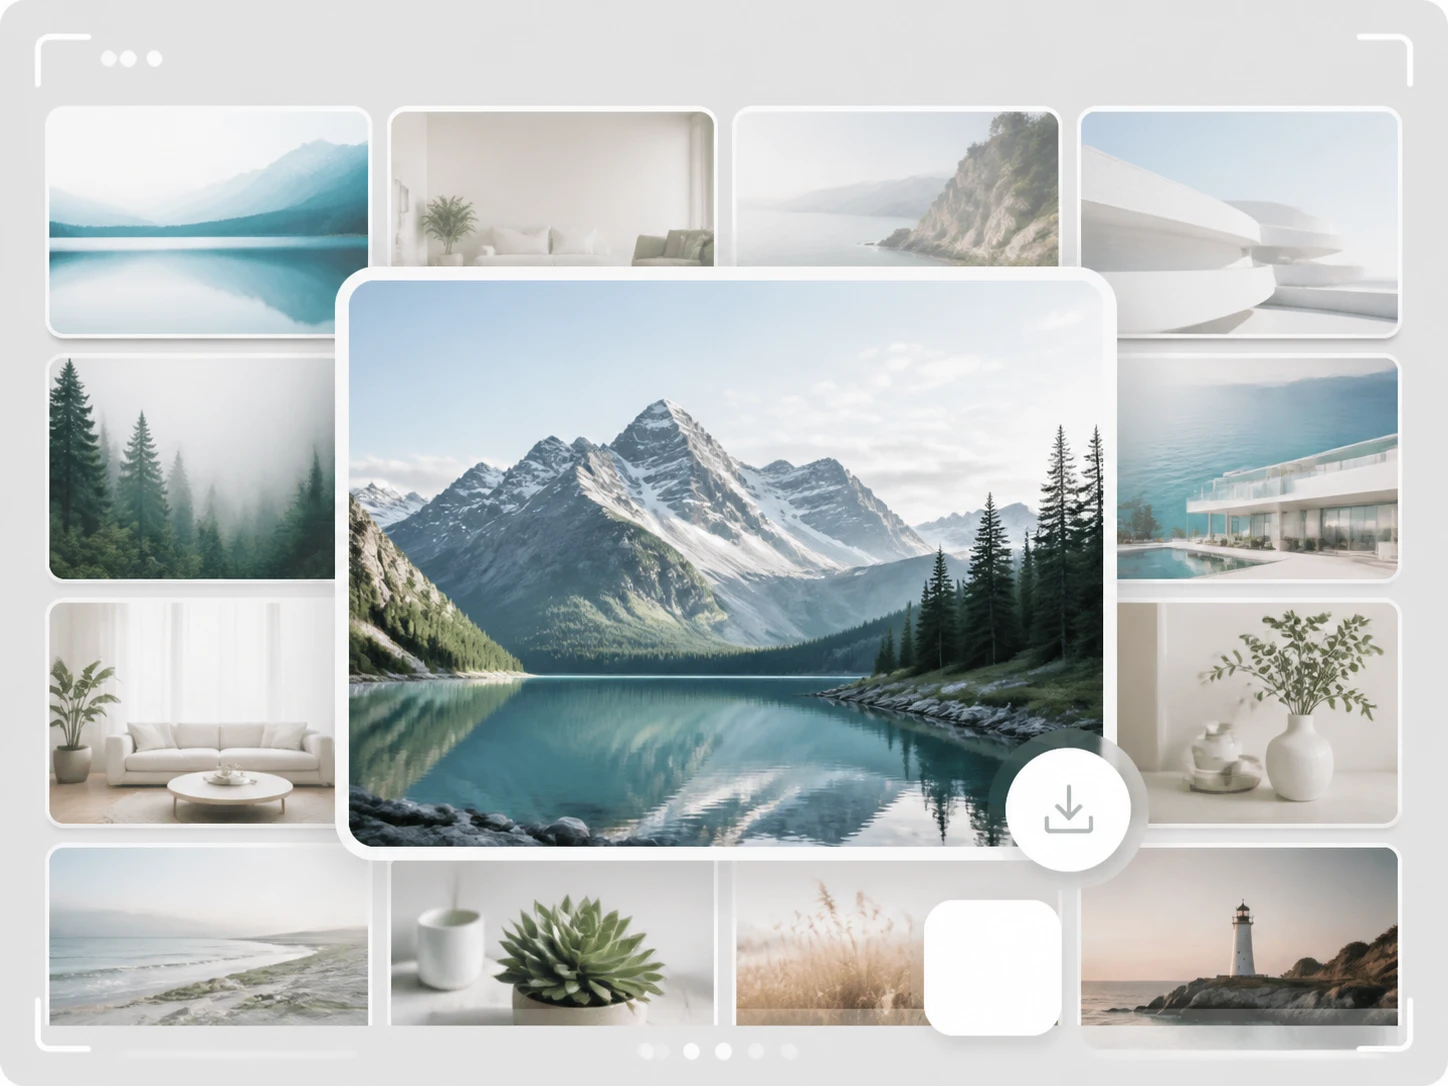
Download Without a Watermark
Compare what the image upscaler produced against your original, then download it with no watermark. Everything stays in your account space with a history you can come back to whenever you need the file again.
Jobs This Image Upscaler Handles Well
Four everyday files an image enhancer meets, each with a different amount of headroom left.
Old Photo Restorer
A boxed print from decades ago gives the image upscaler only what the copy in your hands still holds, and that depends less on the photo's age than on whether this is the original scan, a photo of a photo, or a copy already passed around. Rebuild the damage and fading the way a careful photo enhancer should, clear the scratches and noise, and add color if you want it or keep the black and white.
Upscale Logo
A bitmap logo needs one question answered before you make it bigger: is it simply small with clean lines, or has it been compressed and blown up already? The first keeps its edges as the image upscaler grows it; the second only magnifies the fake edges left behind last time. It works best on your own brand marks, and the same edge keeping helps an anime image upscaler job or plain line art.
AI Face Upscaler
The frame you saved to use as a cover or thumbnail is often not short on resolution at all, since even one 1080p frame holds a couple of million pixels. What it carries instead is the motion blur from the moment and the blocks the bitrate left, and neither of those returns by enlarging. Faces get their detail restored by the image upscaler one at a time, still the person you uploaded.
Upscale Wallpaper
That 4K wallpaper you pulled off the web is very often a small image pushed up to size already, because the label counts the pixel grid, not how much sits inside it. Before you enlarge it again, check whether it is native or already blown up once, since a file enlarged before gives the image upscaler very little room left to add.
Common Questions About the Image Upscaler
Start With Your Least Certain Image
Bring the one file you are least sure about, and the best image upscaler for any given file is the one that starts from what that file still holds, which is how Enhancer.video works, with 10 credits on a new account and no card to begin.